Online Chat
Office Hours: 24/7
Start Chat

Format of Photo Files
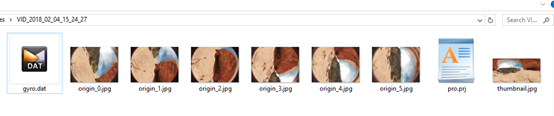
Photos are stored as jpg or dng formats.
Each shot creates a folder containing all description files (gyro.bat and pro.prj) as well as photos.When the camera opens up gyroscope, it generates a file called gyro.bat.
origin_*.jpg sequences are original files captured by each independent lens for later stitching. Resolution is 4000x3000, which can be stitched into panoramic photos of 7680x3840 or 7680x7680 3D panoramic photos.
thumbnail.jpg is a preview photo of 1920x960.
Stitcher interface introduction
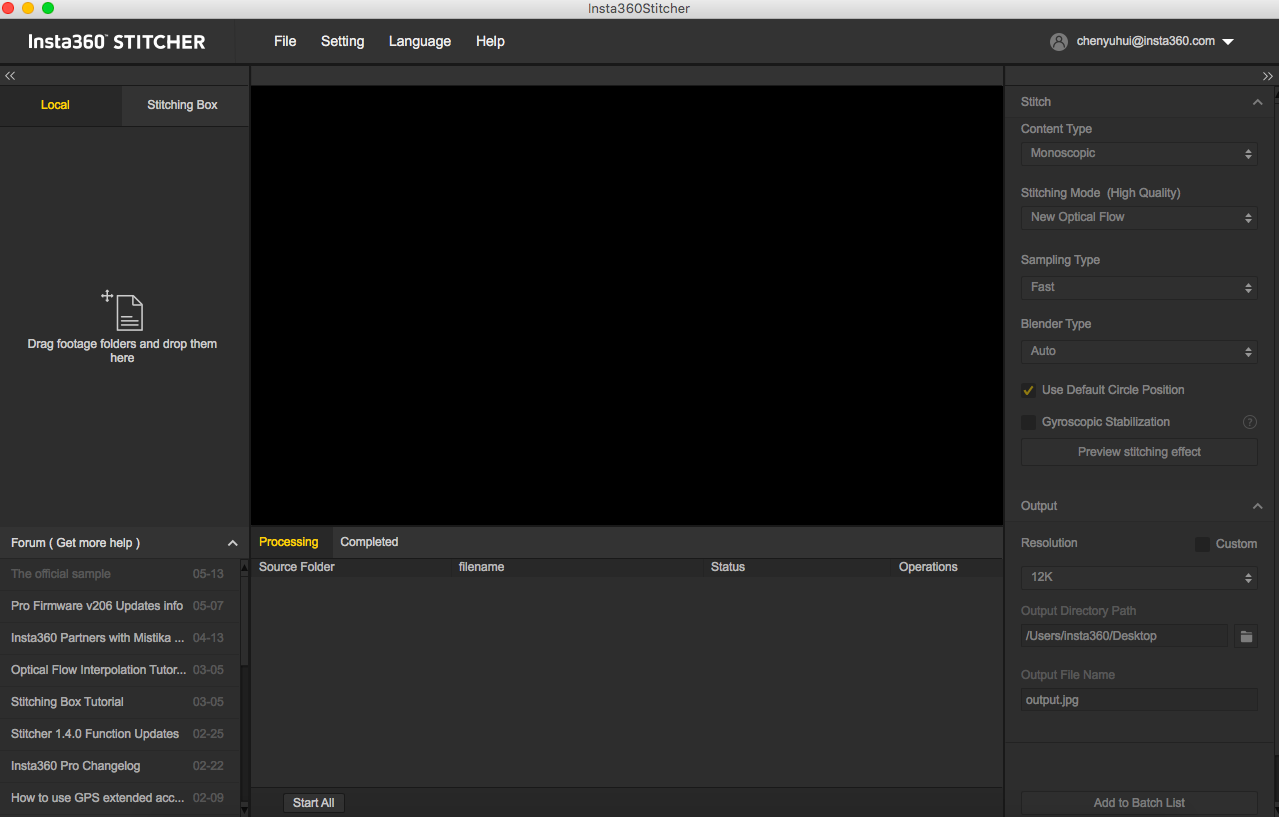
Stitching step
Import a picture folder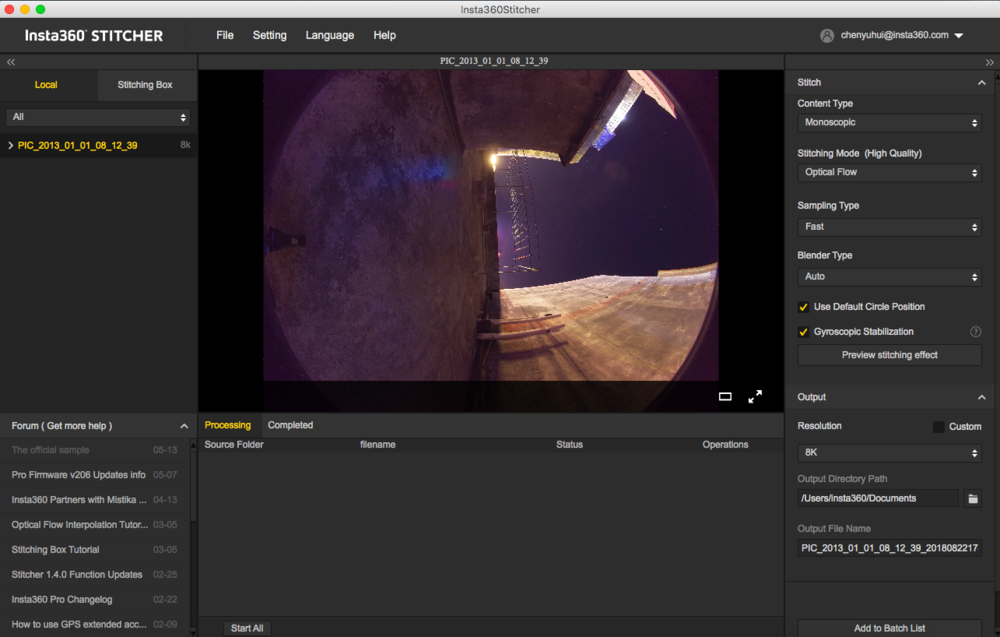
Content Type can be Monoscopic, Stereo (Left Eye on Top), Stereo (Right Eye on Top), Stereo (Distinguish two eyes).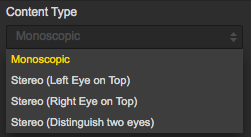
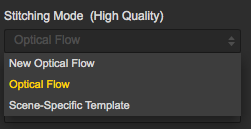
For Stitching Mode, you can select new optical flow and optical flow to calculate new template according to current picture.
Optical Flow: basic optical flow algorithm, general stitching speed.
New Optical Flow: an increase of nearly 3 times of stitching speed on original basic optical flow but few scenes can achieve less stitching effect than basic optical flow. It is suggested to try basic optical flow and compare effects when you feel dissatisfied about the stitching effect of new optical flow.
Scene-specific Template: speed is fastest but it is not optical flow stitching, so it has limited effect when there’s parallax error and in near distance.
As for Sampling Type, if the camera is still static then three sampling types are not very different from each other. If the camera is moving, sampling with slower speed can obtain better image quality which is commonly used in video stitching.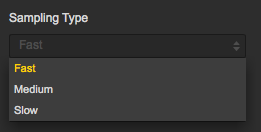
Blender Type is generally automatically chosen by the computer.
CUDA: if the computer use NVIDIA graphics cards, you have to select NVIDIA CUDA technology to enable hardware acceleration.
OpenCL: if the computer doesn’t use NVIDIA graphics cards, we also provide hardware acceleration through OpenCL.
CPU: non hardware acceleration, pure CPU computing.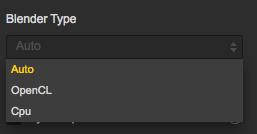
Using default circle position option for some scenes with shelter at top and scenes under dark conditions will help improve stitching effects.
Gyroscopic stabilization can make screen automatically keep horizontal when exporting 2D panoramic photo.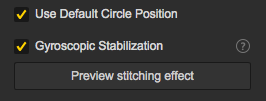
Stitching effect preview is an important step in which you can adjust screen level, center angle of view, and make simple color correction. Zenith Optimization function can optimize scenes with regular lines at top, such as air conditioning exhaust vents on the ceiling.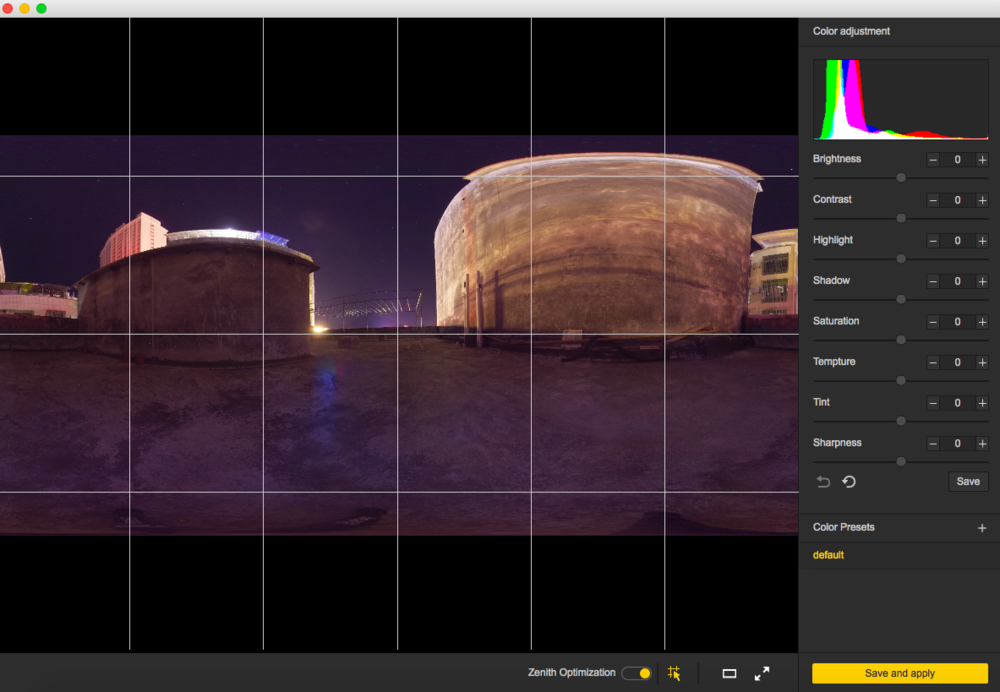
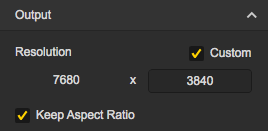
Resolution can be customized in output settings except the preset ones.
Output directory path and output file name can be set. When setup completes, you can add to batch list for pending processing or stitch immediately.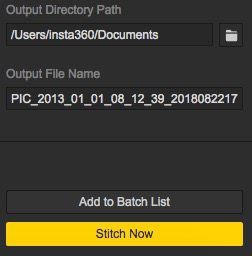
Progress is shown in taskbar. After stitching completes, you can open folder to view stitched photos.
Stitching of special shots
Raw: DNG is an image taken with Raw, and it saves the most original information, which gives lots of room for post-production. It requires stitching in Sticher first. After completion of stitching, synthetic panoramic images of DNG format can be processed in Photoshop for post-production and exported panorama photos in jpg format.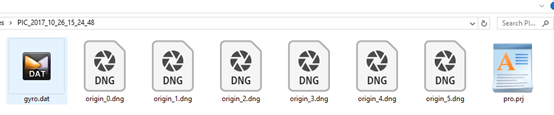
Burst mode: files of Burst mode are 10 groups of original photos, can be stitched and exported 10 panoramic photos. You cannot preview stitching effect of the photos when stitching. After stitching completes, it will generate 10 photos, named output_*.jpg
HDR mode: photos taken under HDR mode are three groups of original photos with different exposures. After stitching, a photo with a higher dynamic range will be generated. Three panoramic photos with different exposures are also generated. You can import them into other softwares to synthesize HDR images.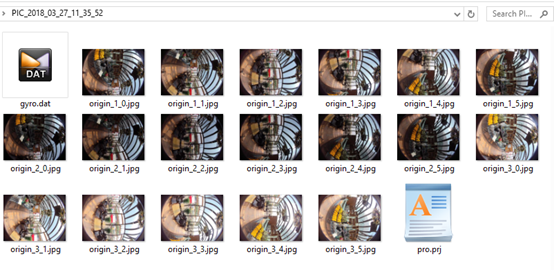
The following are the output of four photos, including high, low, normal and merged.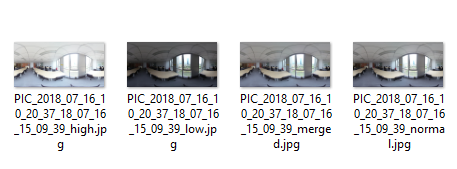
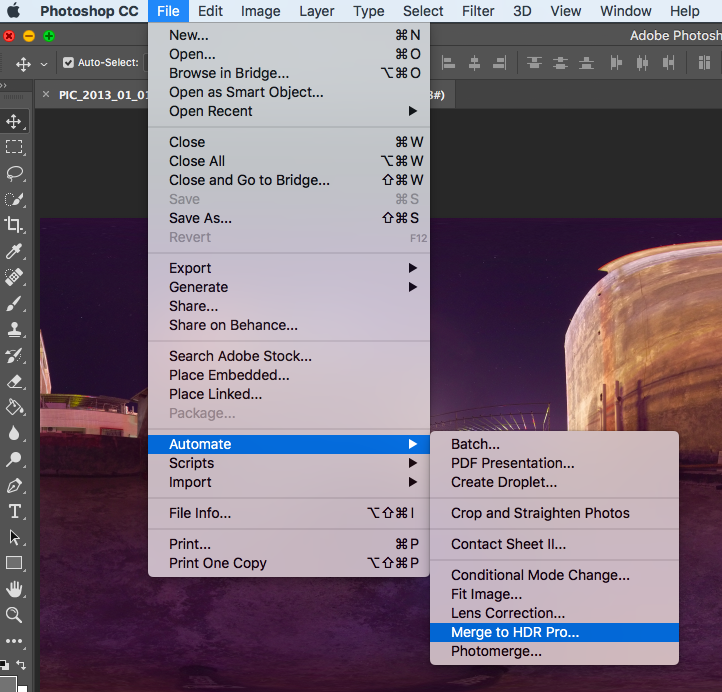
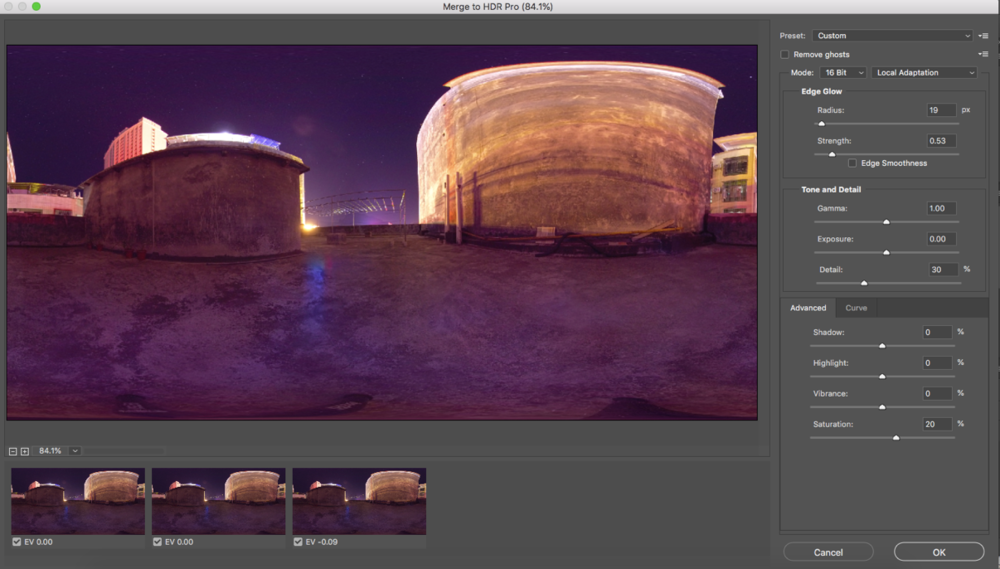
Methods for creating HDR images by using Photoshop:

Timelapse stitching will be introduced in 3.3.3.
.svg)

