Online Chat
Office Hours: 24/7
Start Chat

The introduction of YouTube’s requirements on the panoramic audio and video format standards.
https: //support.google.com/youtube/answer/6395969?co=GENIE.Platform%3DDesktop&hl=en
The panoramic sound files shot by Insta360 Pro directly support this requirement.
Open Premiere CC 2018, create a new sequence, and select the preset with the Ambisonics option under VR, as explained in NOTE on the right:
For editing monoscopic equirectangular VR files at 3840h x 1920v 2: 1 video at 29.97 frames per second 48 kHz (16 bits) four channel Ambisonics audio.
Note: Within Premiere Pro’s Audio Preferences, ensure that the “Multichannel Mono Media” default audio track option is set to “Adaptive”.
This will assure Ambisonics audio media is properly managed as an adaptive multichannel media.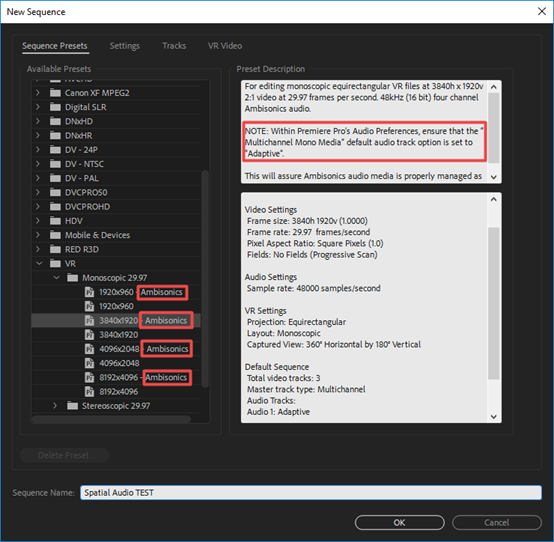
Set Multichannel Mono Media as Adaptive in Audio preferences.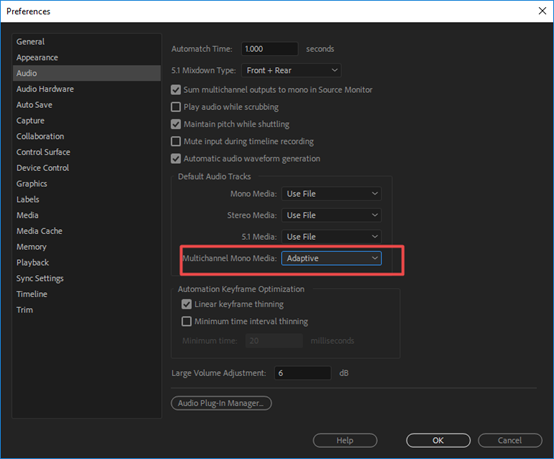
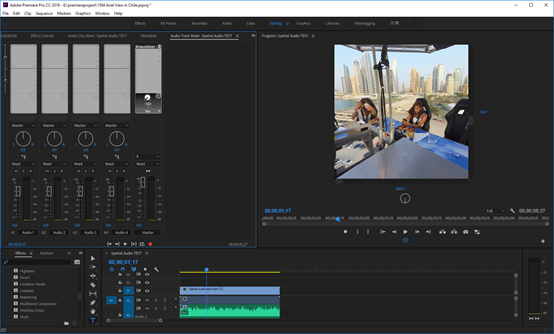
Note that the Insta360 Stitcher allows you to choose to export the WAV sound file with panoramic sound when exporting, so that it can apply Ambisonics effect and be edited in a separate sound track using Premiere. Import video file and audio file (Spatial audio file of H2N or sound file exported by Insta360 Stitcher) respectively, synchronize, complete synchronization and then proceed to the next step. During editing, all panoramic tracks should be on the same track, and the panoramic track should not be shared with other types of sound.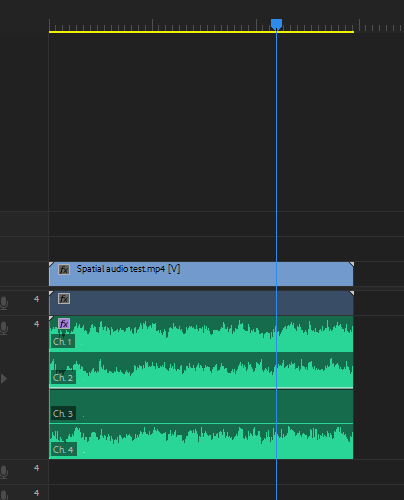
Open the Audio Track Mixer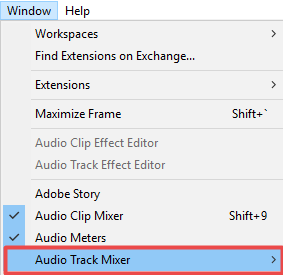
Open Binauralizer-Ambisonics to preview the sound effect, make sure that the direction of the sound matches the orientation of the video screen. Please note that the effect must be turned off when exporting the video.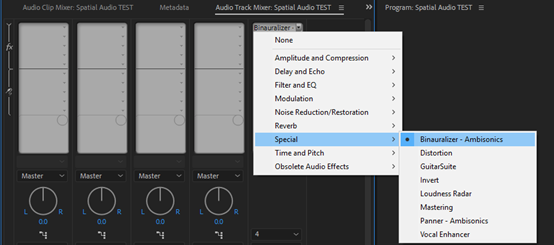
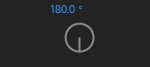
Rotate the angle and preview the video to make sure the sound matches the image.
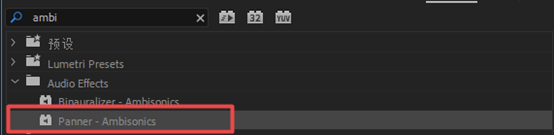
If you encounter a mismatch, you can use the sound direction editing effect, Panner-Ambisonics, to add the effect to the panoramic sound track.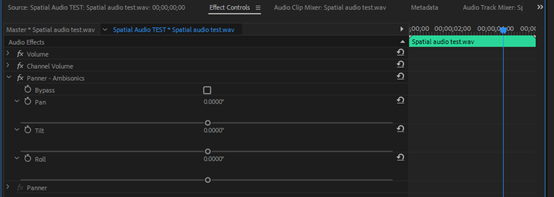
When you turn on the sound effect, you can adjust the three directions, Pan, Tilt and Roll. After adjusting and matching video direction, remember to turn off Binauralizer-Ambisonics before exporting the video.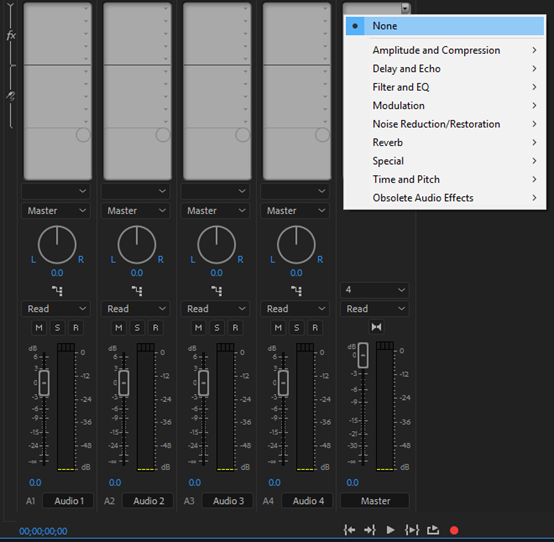
Press Ctrl+M to export. Make preset conform to the video project in the export interface, in which case is the VR Monoscopic Match Source Ambisonics.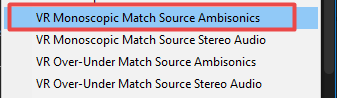
Check whether the other settings are consistent with the sequence settings, H.264 encoding.
Select appropriate bitrate based on the resolution. 4K video is recommended to use bitrate above 40 Mbps. Confirm to select "Video is VR" and “Monoscopic”.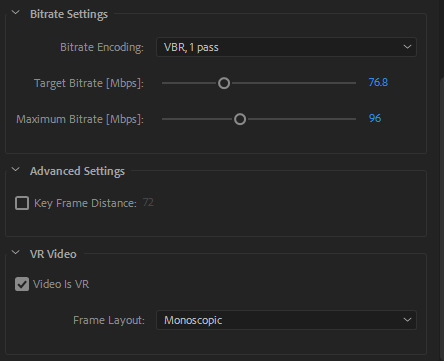
AAC format is confirmed in Audio. Sample Rate is 48000 Hz, 4.0 for Channels, 512 kpbs for Bitrate. Select "Audio is Ambisonics". These settings are consistent with standard requirements.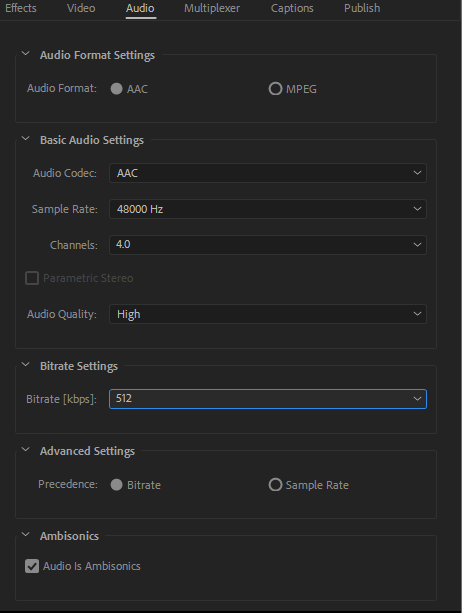
.svg)

