Online Chat
Office Hours: 24/7
Start Chat

1. Video Mode Screen
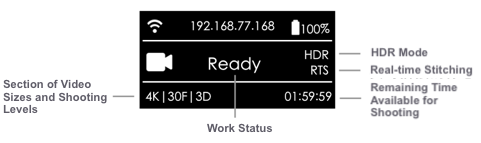
2. Operation Instructions
① Select the video mode from the camera menu, press "POWER" key to confirm entering such mode. After the camera completes the preparation, the video recording READY state will be displayed.
② When the video recording mode is in video recording READY state, press UP and DOWN keys to switch over the size levels for recording.
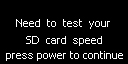
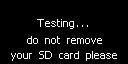
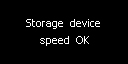
③ When the video recording mode is in video recording READY state, press POWER key and you can start the recording as per the current size. Note: If the storage device is used for the first time, the speed testing is required. The video recording proceed smoothly only after the speed is ensured to meet the standard.
④ To stop recording video, please press POWER key again. If the real-time stitching level is needed after the video is shot, the camera will enter the processing state. After processing is done, the storage will be carried out, and then, the camera will be switched to video recording READY state. The work indicating lamp will be flashing until video shooting is done. If the flashing lamp affects the shooting environment, it can be turned off in the camera settings. Once the video is shot and saved, a sound will be made for indication
3. Recording specifications and levels
| Recording Specifications | Explanation |
|---|---|
| 8K/30F8K/30F | Record and store original video, 8K panorama video at the maximum can be stitched in post production. 3D video cannot be stitched. |
| 8K/5F | Shooting Google street view is detailed in chapter 5 |
| 6K/30F /3D | Record and store original video, 6K 3D panorama video and 6K panorama video at the maximum can be stitched in post production. |
| 4K /120F | Record and store 120-frame original videos, 4K 120-frame panorama video can be stitched in the post production. |
| 4K/60F/3D | Record and store 120-frame original videos, 4K 120-frame panorama video can be stitched in the post production. |
| 4K/30F RTS | Record and store original videos, real-time stitching for 4K 30-frame panorama videos. |
| 4K/24F/3D RTS | Record and store original videos, real-time stitching for 4K 3D panorama videos. |
| Customize | Camera customize option allows the user to quickly select the parameters saved by the application the last time it was manipulated by using app . See chapter 6, 6.2 for details of use. |
1. Record through app (take the interface of iOS app as an example)
Click to enter shooting mode, app will automatically load preview stream. After completion, it will carry on corresponding shooting. During shooting, the preview screen has a frame rate of 1 FPS. Turn on gyroscope stabilization. When the button is on, videos stored by the camera’s real-time stitching function will automatically correct according to gyroscope data.
Please note that this feature cannot take effect when photographing real-time stitching content or live-streaming of 3D. Click to switch to preview effect with VR glasses. Close preview screen button (save electricity after closing) and touch to preview again.
Open app and make video settings:
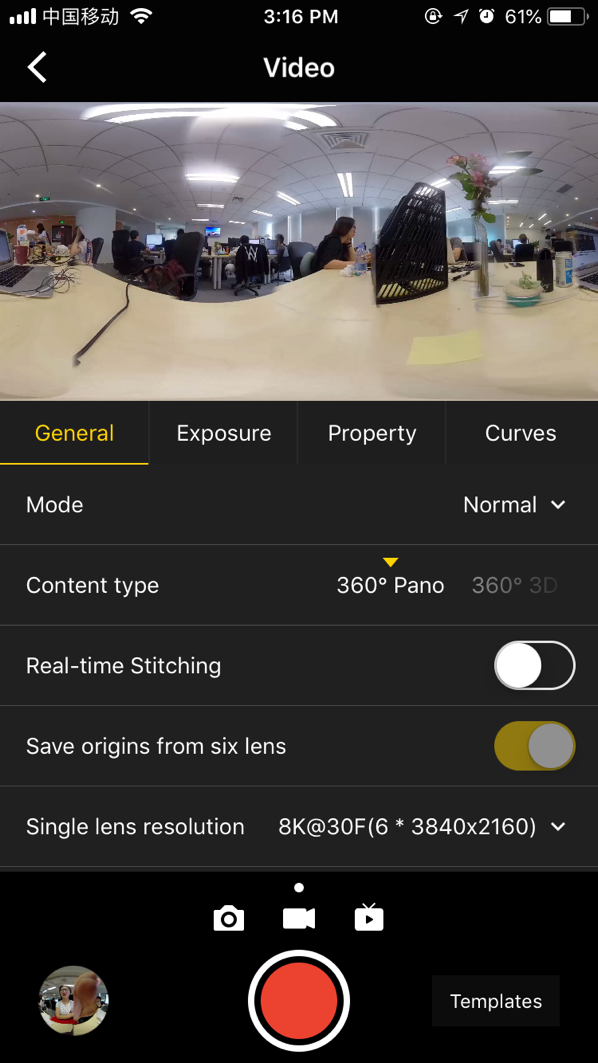

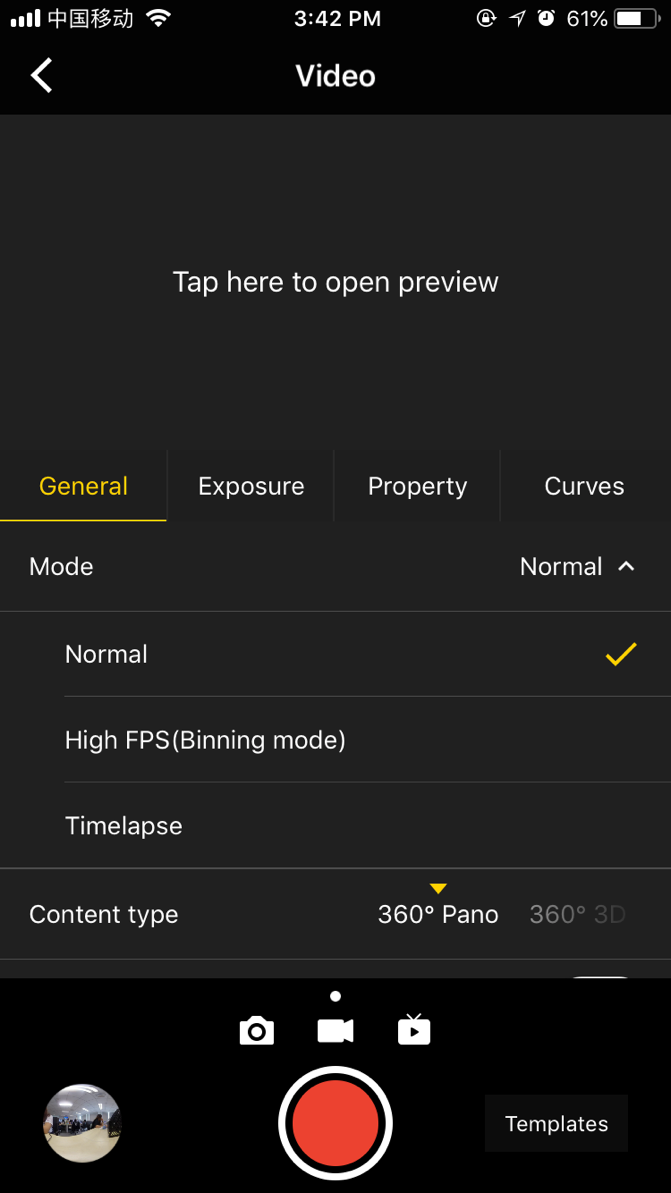
General (basic settings for recording):
| General | Options | Explanation | Post-production |
|---|---|---|---|
| Mode | Normal, High FPS(Binning, high-frame rate mode), Timelapse |
High frame rate mode, because of Binning technology, its quality is slightly inferior than ordinary shooting video. The interval length of delay photography must be set above 2s, while interval time is 1s longer than Shutter time. For example, setting interval is 2s, Shutter can be set to 1s at minimum. |
In addition to the Normal mode, which can use real-time stitching, other modes need to use Stitcher for post-production. |
| Content Type | 360° Pano 360° 3D |
Associated with the type of video content of real-time stitching. There is no 3D option if shooting 8K and 4K120-frame content. | According to the original film type of 6 shoots, there are no 3D options except for 8K and 4K120-frame content. |
| Real-time stitching | Real-time Stitching options (not optical flow stitching). It is turned off by default. If turned on, video resolution needs to be set for real-time stitching storage. | The camera should be calibrated before use. The maximum resolution of the real-time stitching shall not exceed 4K. When shooting moving objects and people, the result of real-time stitching can not be optimal. |
If the original 6-lens video is stored, the user can use Stitcher for later stitching. |
| Save origins from six lenses | Used with real-time stitching | When opening real-time stitching, you can only choose to store 5K (6*2560x1440) 4K(6*1920x1440) | 6*1920x1440 original film can be stitched into 3840x3840 3D video 6*2560x1440 original film can be stitched into 5120x2560 general panoramic video. |
| Single lens resolution | 8K@30F(6*3840x2160) 8K@5F(6*3840x2160) 6K(6*3200x2400) 5K(6*2560x1440) 4K(6*1920x1440) |
After you turn on the option to store the original video, you can select the maximum video resolution for each lens recording. | Through Stitcher mosaic synthesis, later mosaic will be affected by the resolution of the original film, 3840x2160, 2560x1440 can not splice 3D video. |
| Flat color mode | Close by default | Color mode with large post-production space, similar to the Log function, can download the official LUT for fast color palette. | After stitching, you need to use software such as Premiere or FCPX to load LUT. Method of use please refers to 3.3.8 |
| Audio gain | -30 ~ 30, 0 by default | Only works for built-in microphones. | 2 methods for optimizing built-in mic recording effects: 1. fan sampling, 2. turn off the fan. |
| Reset |

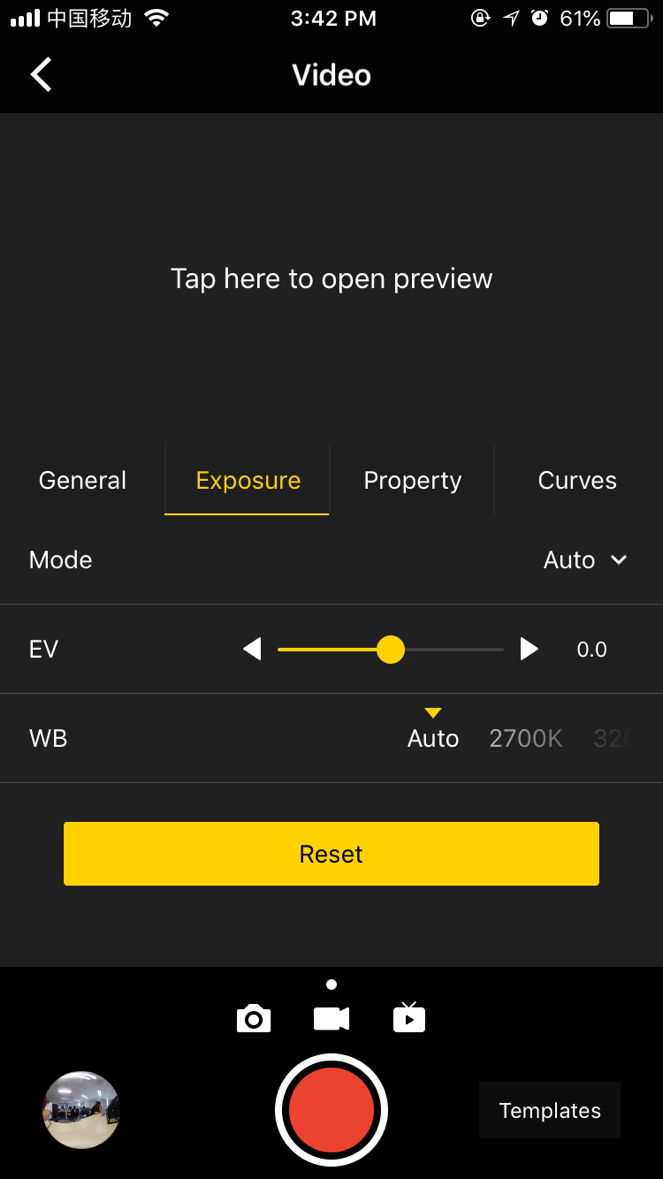
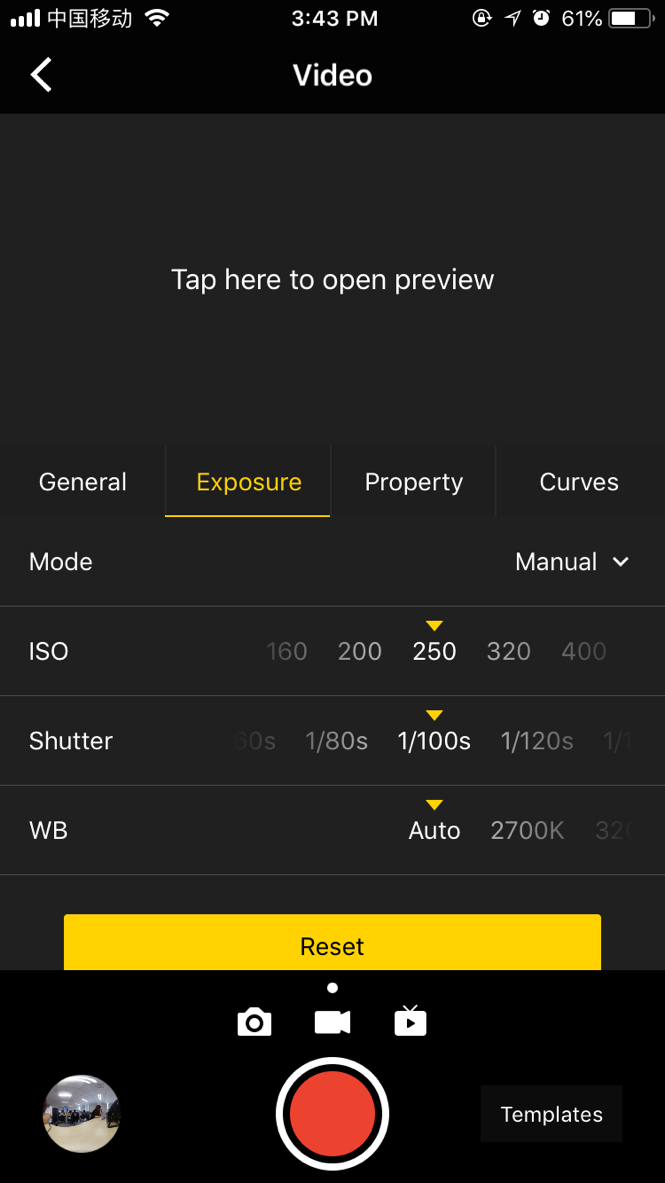
Exposure
| Exposure: | Options | Explanation |
|---|---|---|
| Auto | It can adjust EV, white balance | Under the shooting of Normal, the range of EV is-5 ~ 5. Under HDR mode, the adjustable EV range is Under the shooting of Normal, the range of EV is-5 ~ 5. |
| Manual | ISO range:100 ~ 6400 Shutter range: 1/30s ~ 1/8000s for ordinary Shutter, WB levels:Auto(auto white balance), 2700K, 3200K, 4000K, 5000K, 6500K, 7500K |
The normal video shutter speed is set at 1 / 50s. In special cases, the shutter speed can be adjusted in conjunction with the ISO in order to obtain the correct exposure. |
| Isolated Exposure | Each lens is automatically exposed separately, with adjustable EV, white balance. Optical flow stitching can be done via Insta360 Stitcher later, which enables smooth transitions for color difference between each lens. |
Isolated Exposure is suitable for shooting scenes with sharp light and shade contrast, such as shooting bright windows and indoor scenes, bright scenes but darker seats in the audience. |
| Reset |
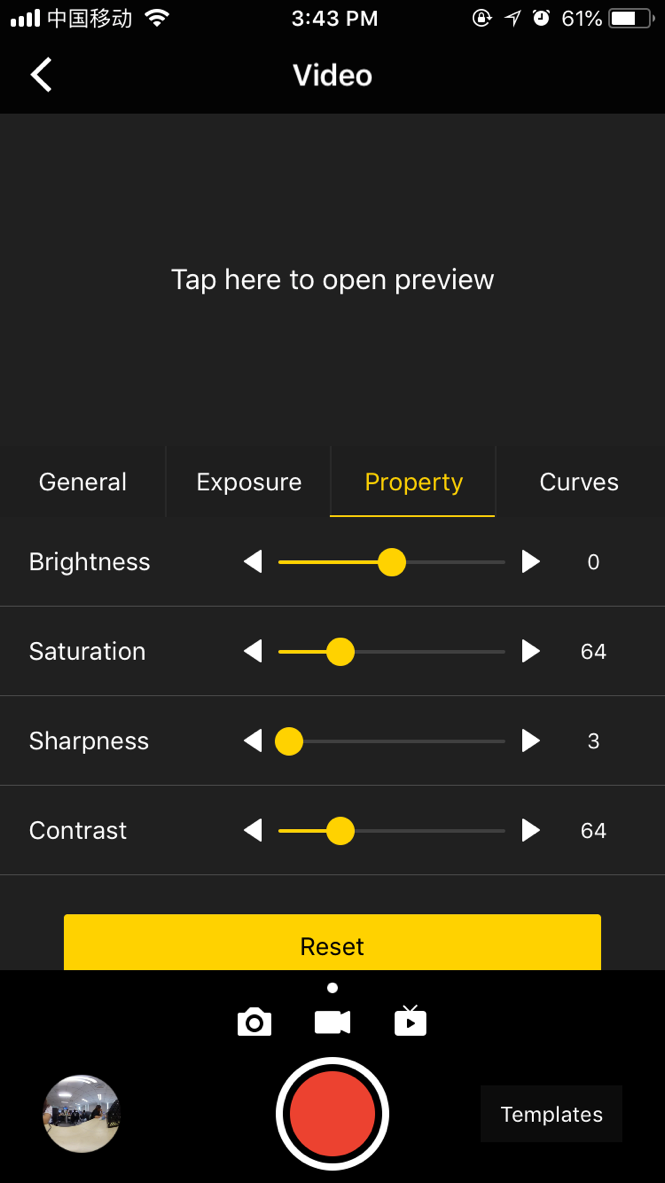
Property
| Property | Options | Explanation |
|---|---|---|
| Brightness | -255 ~ 255 | |
| Saturation | 0 ~ 255 | |
| Sharpness | 3 ~ 6 | Note: it's not suggested to modify the property settings, especially not to modify sharpness because it may add more noise to the image after modification. |
| Contrast | 0 ~ 255 | |
| Reset |
2. Precautions for shooting
In mobile AP connection, it may cause unstable connection due to crowd density, and shelter, etc.
Pro is not waterproof so it cannot be photographed underwater nor does it recommend photographing in rainy weather.
Optical flow stitching algorithm is designed to detect each pixel between frames. And if no similar point is found in adjacent images, ripples will be generated at moving objects or lens seams. For example, in front of wallpaper of fine vertical stripes are reflective glass or stainless steel railings.
Therefore, we should try to avoid these situations and place the camera in the scene with details that are rich but non-repetitive.
Safe distance: the safe distance of optical flow stitching is 50cm. The safety distance between template stitching is 1.5m and safe distance should be considered in camera’s position.
Considering the effect of viewing through VR headset, it is suggested that camera lens height should be equal to an adult height when recording video of people, and the distance between a character and an object should be 1.5m ~ 2m.
Since the 3D video does not have gyroscope calibration function, when shooting videos, one should ensure camera is held level, and it is recommended to use stabilizer when holding the camera to shoot.
.svg)

