Online Chat
Office Hours: 24/7
Start Chat
The original images of 6 lens are saved for every shoot, so we can put them together with third party stitching software, taking PTgui, Autopano Giga, Mistika VR as examples here.
1. PTgui stitching preservation template
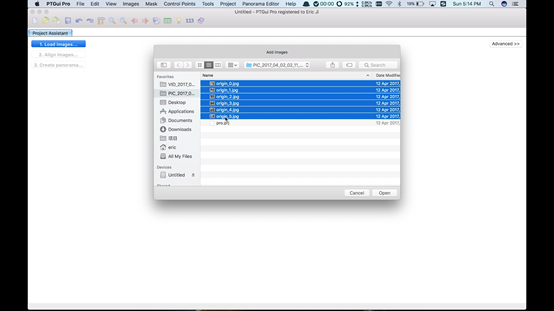
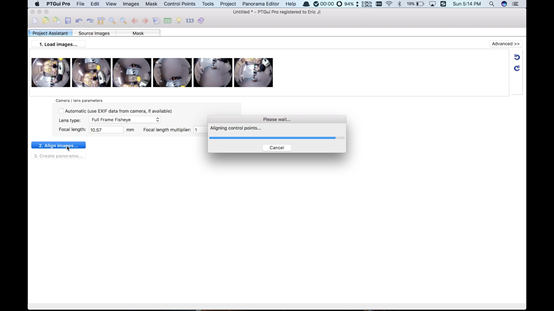
Load images-import 6 original pictures
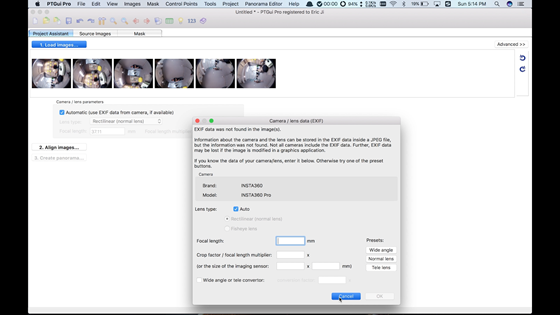
Skip camera/lens setting
Select lens type as Full Frame Fisheye, setting Focal length for 10.57.
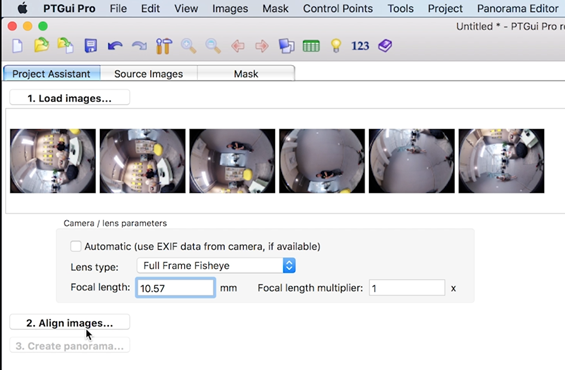
Click Align images for stitching analysis
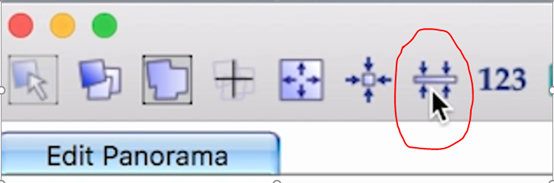
Adjust level in Panorama Editor, adjust pictures accurately, etc. Detailed method refers to PTgui official tutorial.

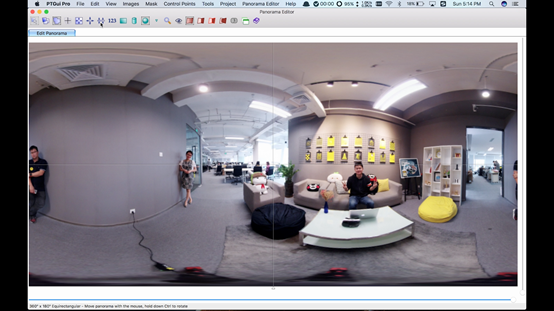
"File-Save as templates" is to save it as pts template files for subsequent use; "Create panorama" can export jpg panorama images.
2. Autopano Giga
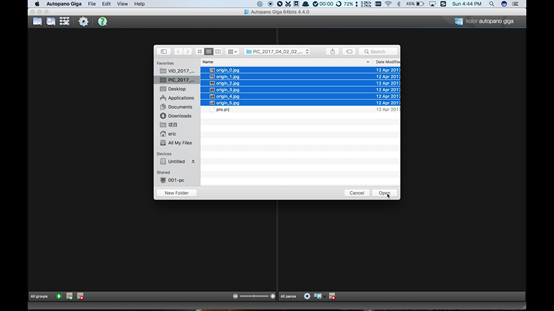
Open Autopano Giga, click icon to import original images of 6 lens.
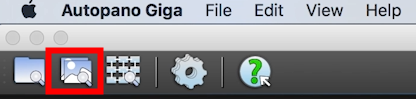
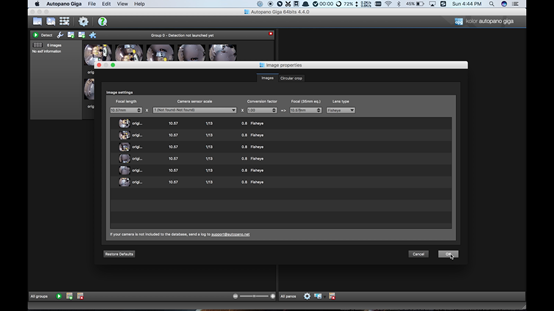
Analyze images, click icons to open "Image settings", modify "Lens type" to be "Fisheye", "Focal" for 10.57mm, click on "OK" to confirm.

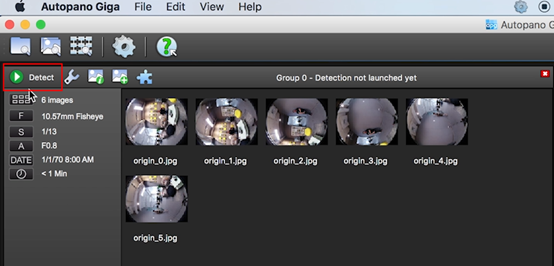
Select "Detect" icon on upper left corner to analyze stitching, select "Edit" after analysis, enter the editing interface.
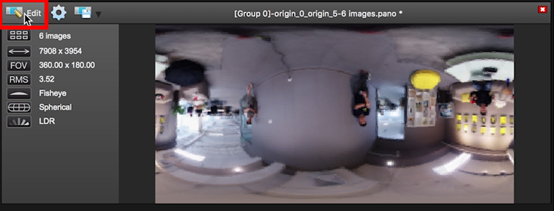
Details can be adjusted in editing interface. Refer to Autopano Giga official tutorial for detailed methods

3. Mistika VR stitching panorama
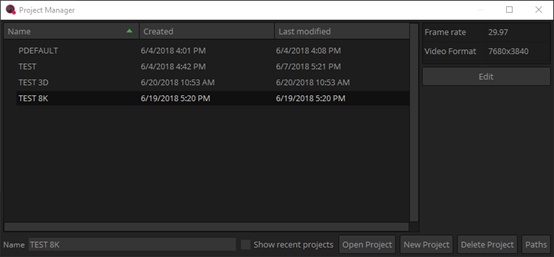
Since the resolution of Mistika VR rendering is consistent with settings in engineering Project, you should set the required resolution beforehand in Project. Here we chose to build a project of 8K.
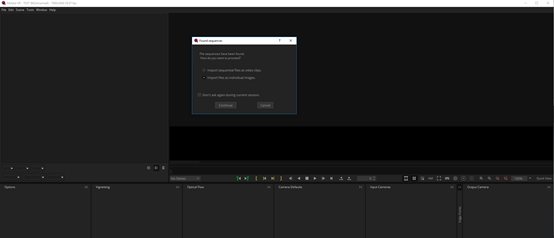
Choose original pictures of 6 lens to import, select to import as individual picture
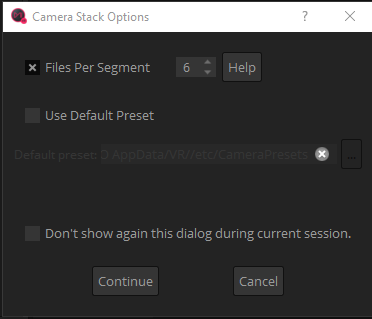
Select Files Per Segment as 6. Select Continue to complete import.
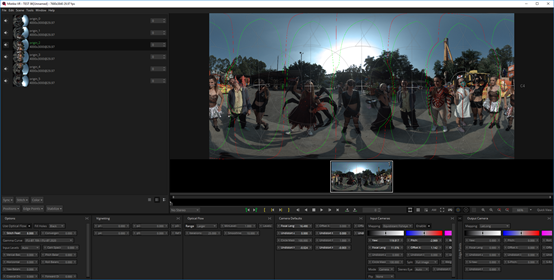
Select "Import Stich" in Stitch drop-down box to find the picture folder, import pro.prj files, refer to Insta360 Pro’s engineering description file to automatically stitch into a panorama picture.
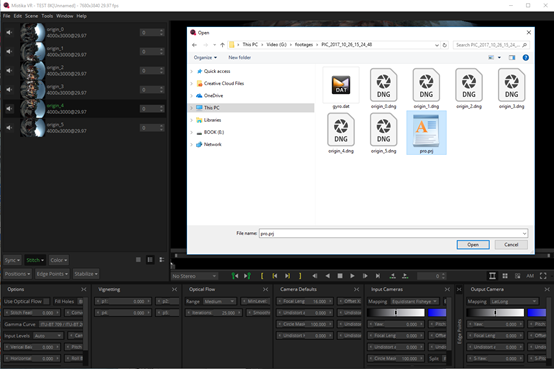
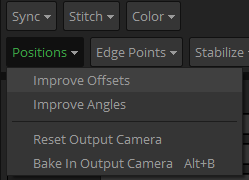
Select improve offsets and improve angles in the Position drop-down box to enhance stitching.
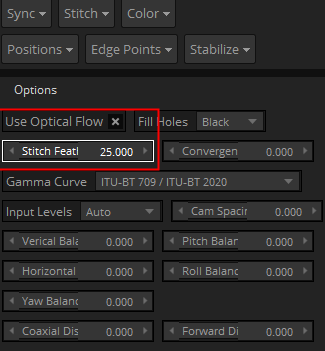
Option chooses optical flow stitch, Use Optical Flow, set Stich Feature as appropriate value and the larger the more overlap parts there will be. The value is generally 8-20.
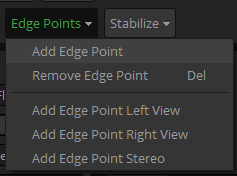
We found that there were characters whose heads were not perfectly stitched so we chose to edit edge points to avoid header stitching. In this case we add "Edge Point" to camera 5, camera 1 , camera 3, avoiding header stitching of five characters. Other fine tuning stitching methods refer to Mistika VR official tutorials.
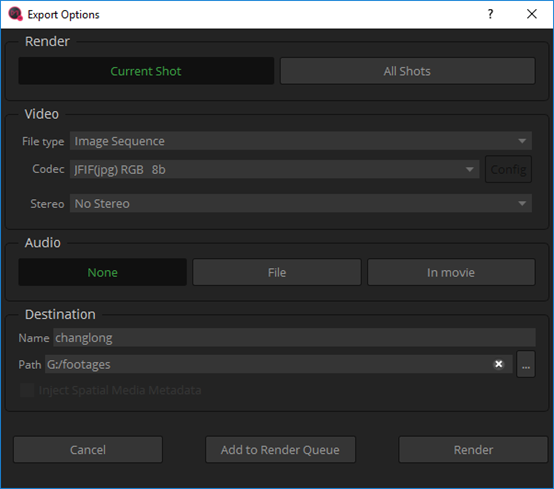
Render and export jpg or TIFF files that save the maximum information, continue to modify in other modifications software.