Online Chat
Office Hours: 24/7
Start Chat
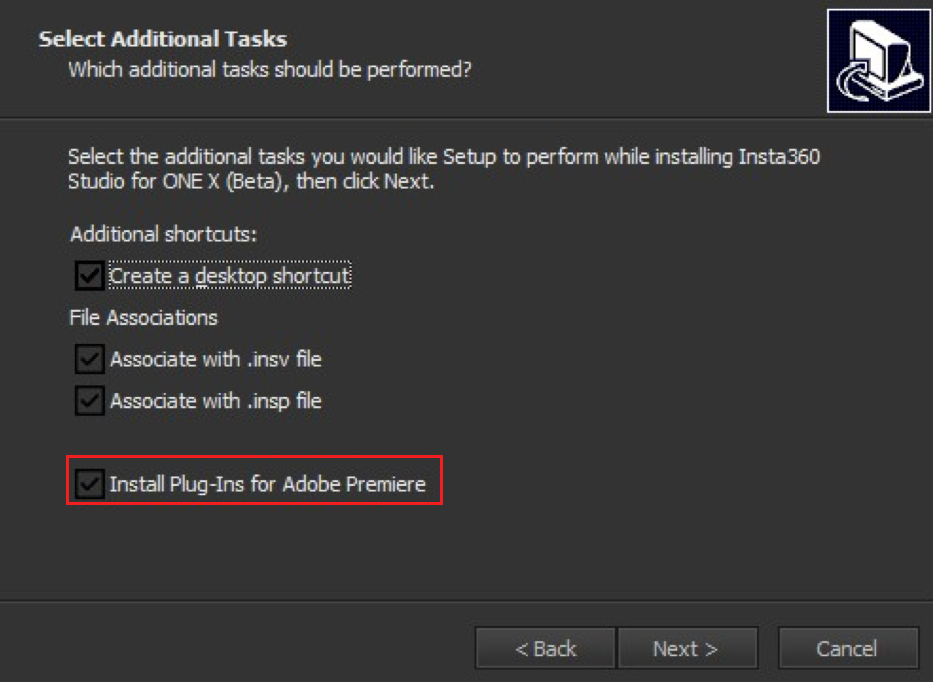
<li>1.Studio 2019 contains the Insta360 Plugin for Adobe Premier Pro, we recommend installing both of them. The plugin is available for both 2018 and 2019 versions of Premier pro. </li></p>Windows: Please tick “Install Plugins for Adobe Premiere” when you install Studio.
Mac: Please select “Premiere Plugin” when you install Studio.

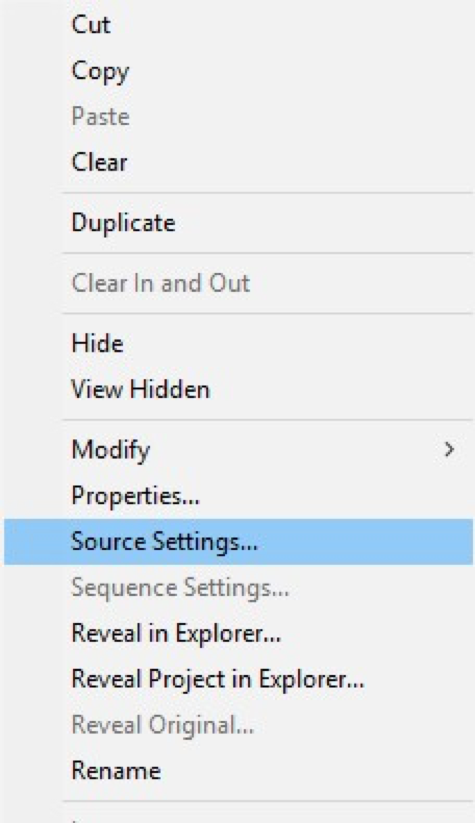
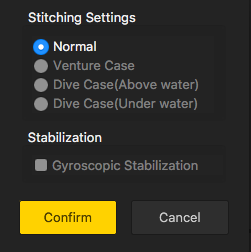
<li>2. Open Adobe Premiere, import insp/insv files, then right click the one you want to edit. Select Source Settings to open a menu which allows you to switch on stitching and stabilization functions.</li>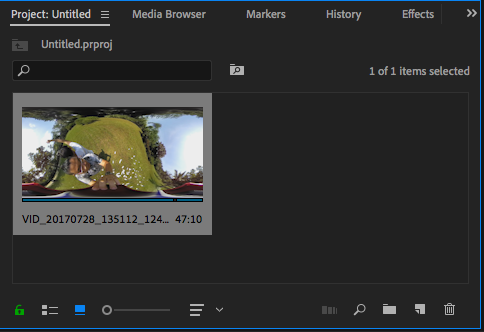
<li>2. Find the “Insta360 Importer for Adobe PR&AE”, then click "Uninstall".</li>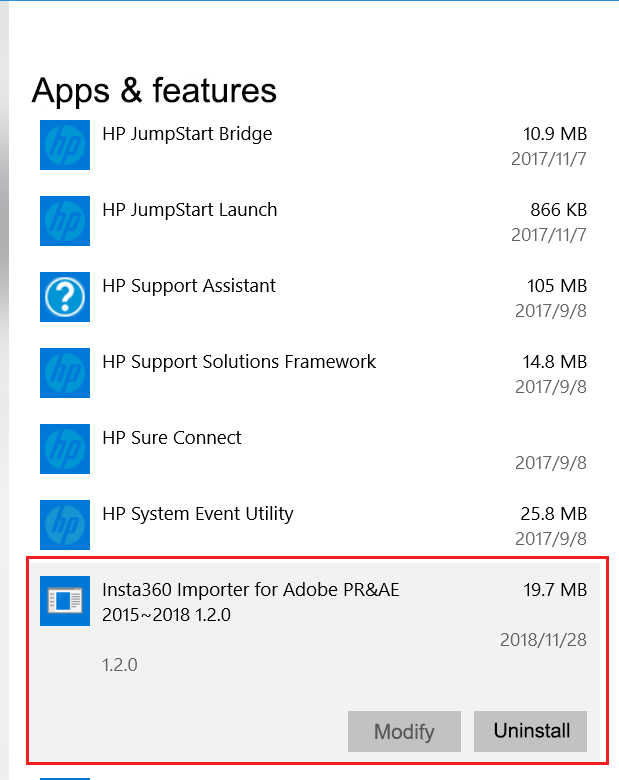
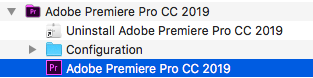
<li>2. Right click “Adobe Premiere Pro CC” then select “Show Package Contents”.</li>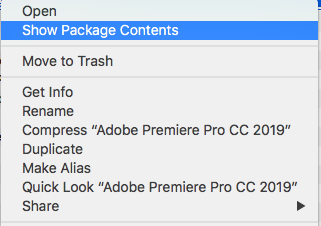
<li>3.Go to Contents/Plug-Ins/Common folder (Premiere Pro private plugin folder) and find insv.bundle, then delete it.</li>