Preview your footage in real-time and adjust camera settings with the GPS Preview Remote. Record precise GPS information and other data to add to your footage in post.

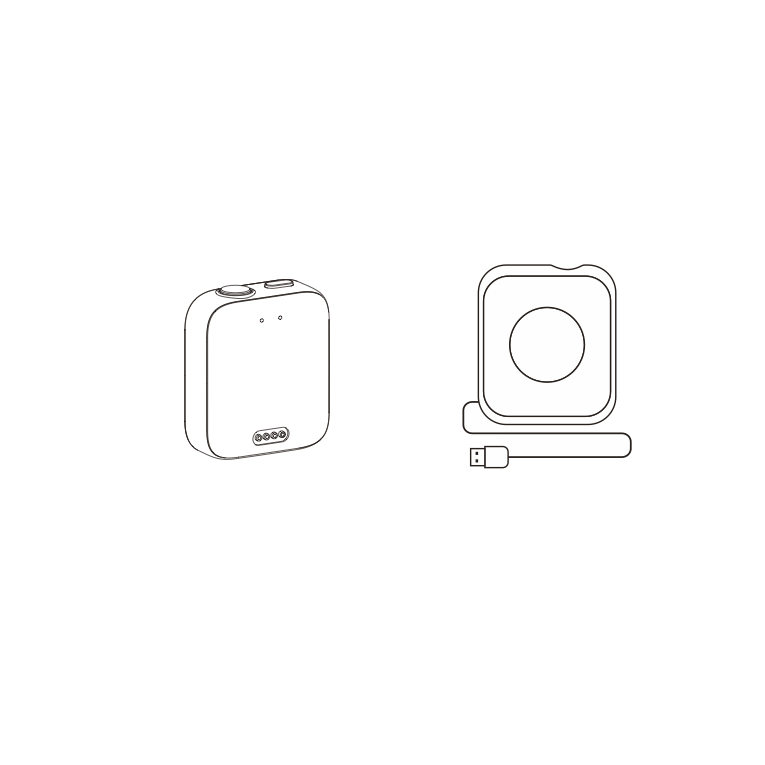
Put the remote on the charging base, ensuring that the charging points are in full contact.
Then, connect the charging base to the charger and the power supply. An indicator will appear on the touch screen to confirm the remote is charging.
Note:
Please use a 5V/1.5A power adapter to charge the Remote.
Keep the remote and the charging base clean and dry.

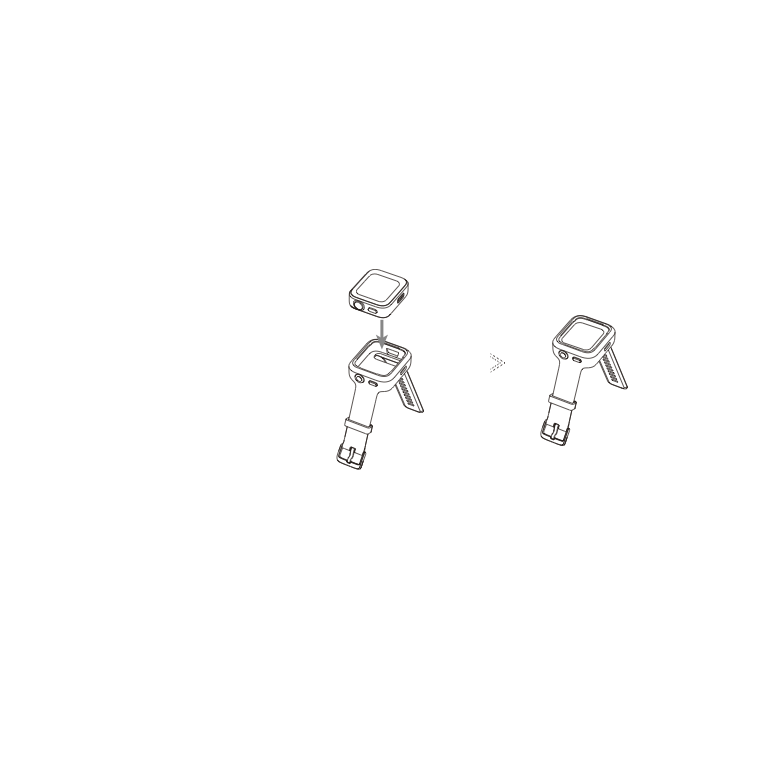
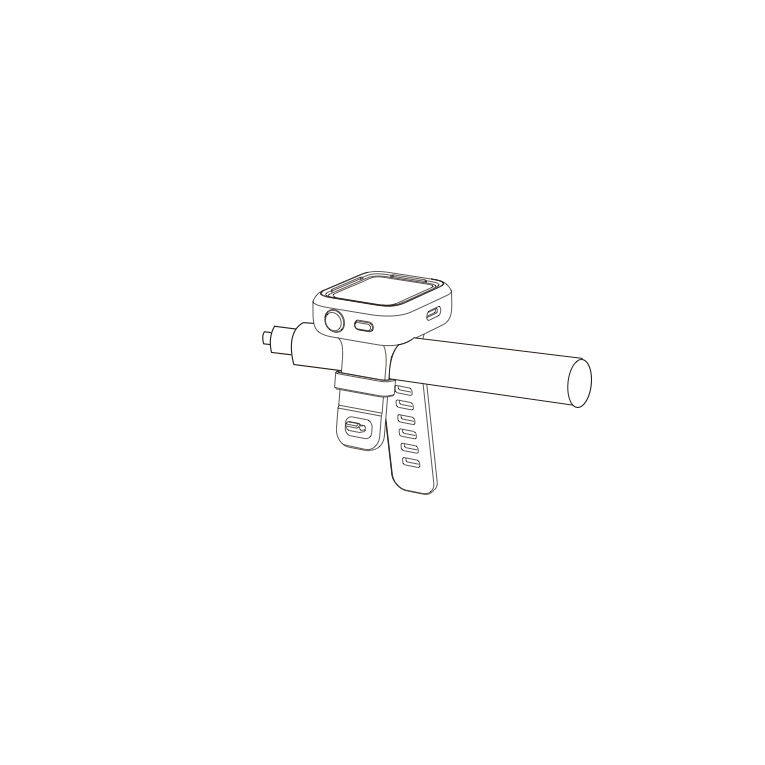
You can attach the GPS Preview Remote in three ways. It has two straps for flexible mounting.
| Position | Description | Figure |
|---|---|---|
| On wrist | Use the Wrist Strap to wear the GPS Preview Remote on your wrist. Ensure the buttons are aligned correctly. |
 |
| On selfie stick | Use the Universal Strap to attach the remote to a selfie stick. Ensure the buttons are aligned correctly. |  |
| On bike/motorcycle | Use the Universal Strap to attach the remote to the handlebars. Ensure the buttons are aligned correctly. |
| Remote Status | Operation | Descriptions |
|---|---|---|
| Powered off | Long press Power Button | Power on the remote. |
| Powered on (camera disconnected) | Long press Power Button | Power off the remote. |
| Powered on (camera connected) | Long press Power Button | Power the remote/the camera/both (you can select this function). |
Notes:
Swipe down from the top of the remote's watch dial to enter the connecting interface and tap the camera button (📷).
The remote will be ready to pair.
Enter the Bluetooth Remote feature on your camera and connect to the remote. Repeat the process as needed.
Notes:
You can use the remote to wake up your camera.
After connecting to the camera for the first time, swipe down on the remote touchscreen to enter the connection interface, and choose one of the following two ways to wake up the camera:
Notes:
When the camera is connected, use the remote's touchscreen or press its buttons to control the camera.
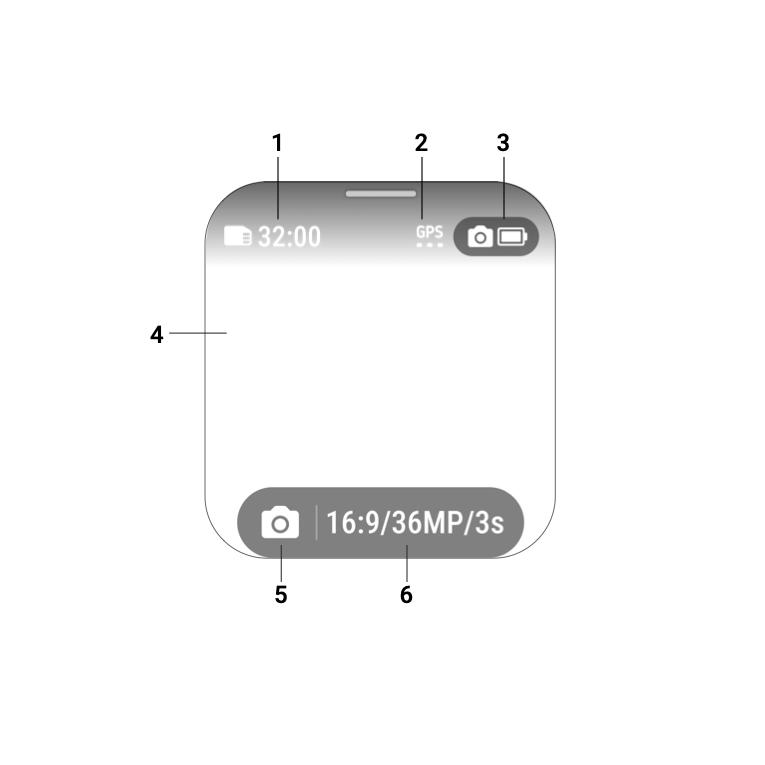
When the camera is connected, the remote will display the following camera information on the preview page:
On the preview page, tap the shooting specifications button or swipe from the bottom upwards to enter and adjust shooting specifications.
On the preview page, swipe right to left to enter and adjust shooting parameters.
| Remote Status | Operation | Descriptions |
|---|---|---|
| On the preview page | Press the Shutter Button | Take a photo/start recording a video. |
| Recording | Press the Shutter Button | Stop recording. |
Swipe left or right on the remote's watch dial screen to enter Dashboard, Compass or Settings.
You will find the following in Settings:
Open the Insta360 app > Settings > Update GPS Remote Control. Search and connect to the remote.
Once connected, the app will prompt you to update if there is a new firmware version.
Please follow the on-screen instructions to update the remote's firmware.
Please click here to contact us for further support.