Versions after Final Cut Pro 10.4 have started optimizing support for VR clips and adding some panoramic attributes, while the current version only supports 4K panoramic and 4K3D panoramic clips.
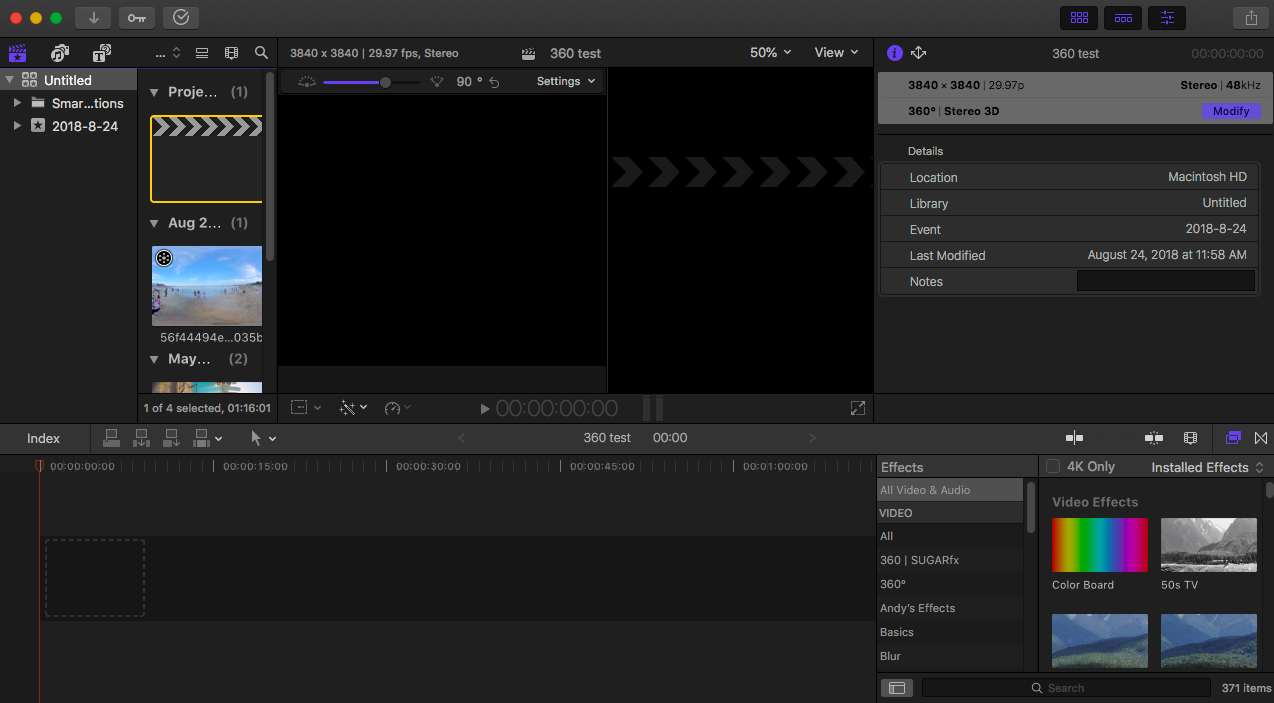
Open FCPX to create a new repository, or create an event in an existing repository, and you can directly select 360 video format, and there are two options for resolution, including 3840 * 1920 and 4096 * 2048.
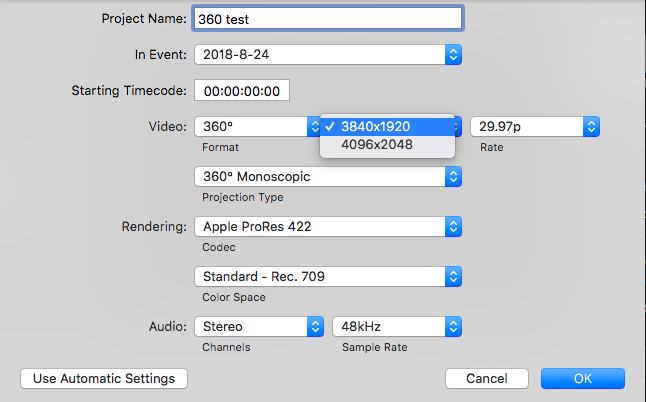
The projection type has two options, including 360° Monoscopic and 360° Stereoscopic. If you choose to establish 3D panorama, namely 360 stereoscopic, you have two options for resolution, including 3840 * 3840 and 4096 * 4096.

After creating a 3840 * 1920 event, select Import Resource File.
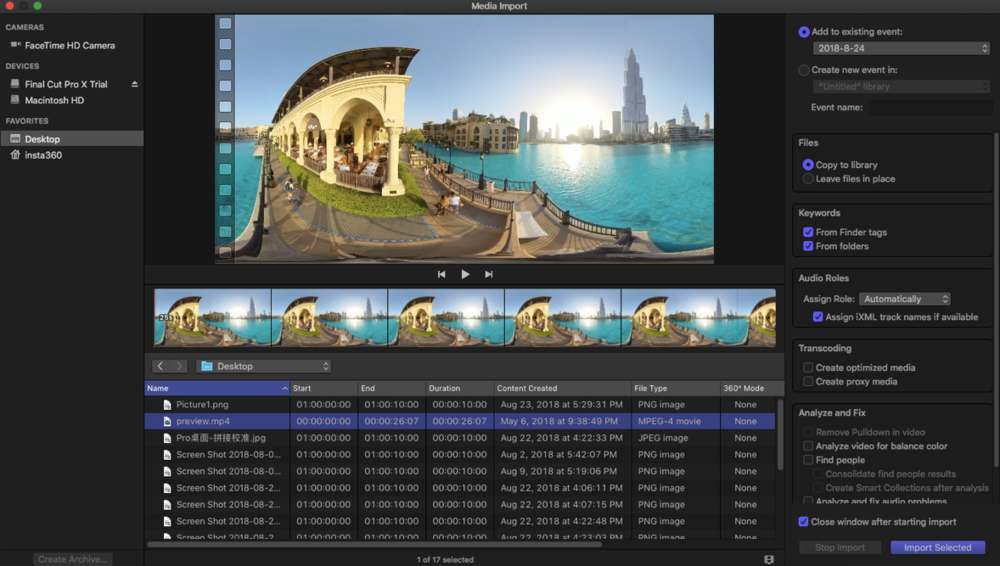
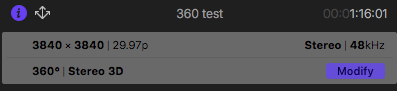
In the FCPX section, three panoramic videos are imported, with panoramic attribute icons in the upper left corner of the video. The upper-right item property shows that this is a 360-degree video project.
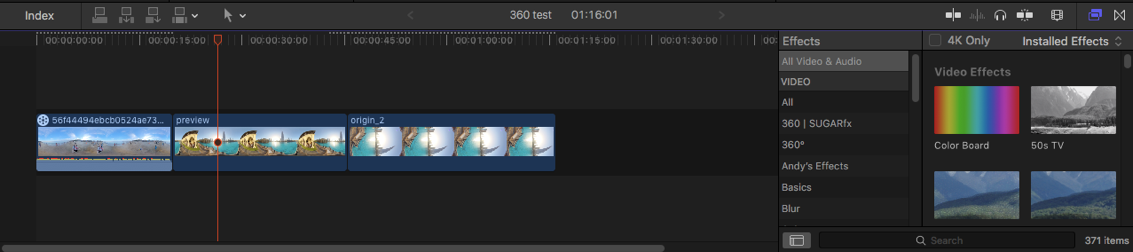
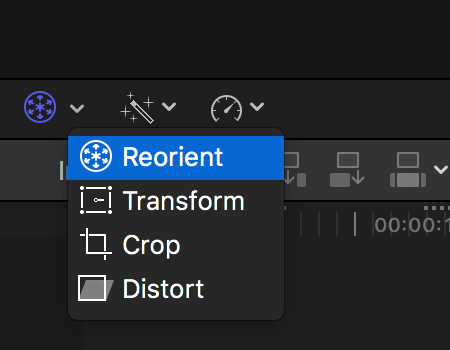
Add video clips to the timeline for editing, and you can see some of the FCPX built-in 360 attributes in the attributes bar on the right.
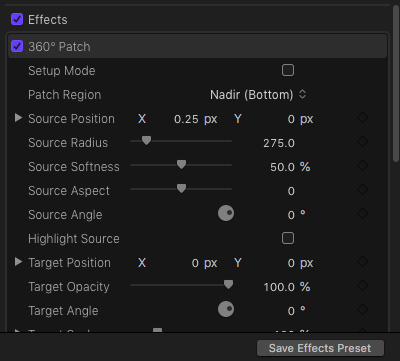
The use of attribute 360 patching allows for a simple patching, which is a very practical attribute.
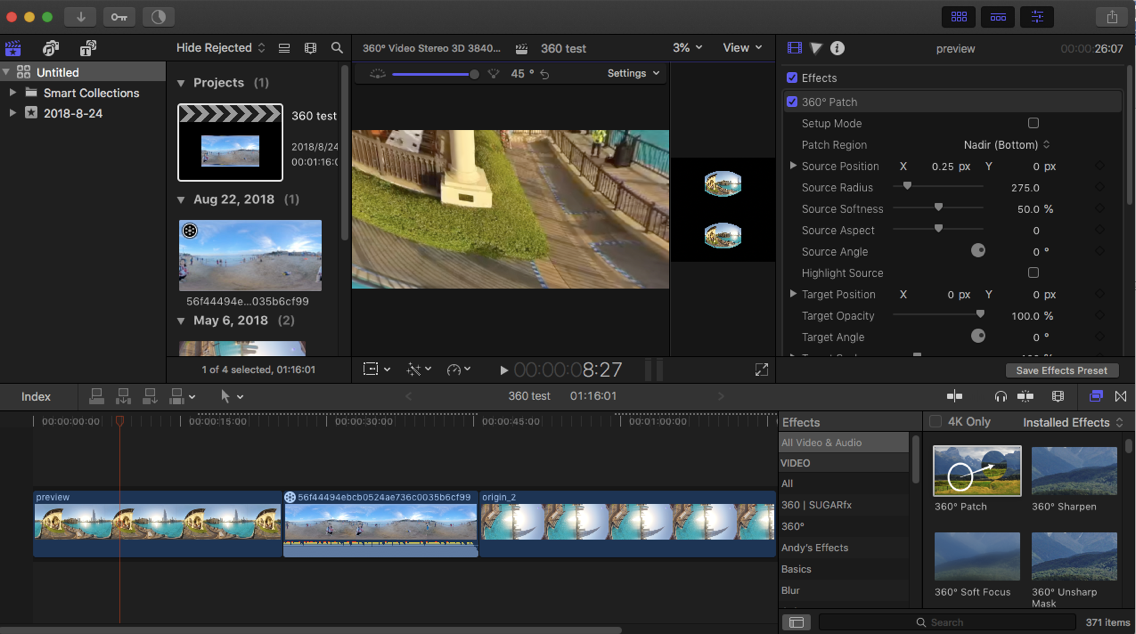
In addition, there are some panoramic video halo, blur, sharpening and other attributes that can be added according to you own needs.
On the main clip display window, right-click for reposition, which changes the main view of the panoramic video.
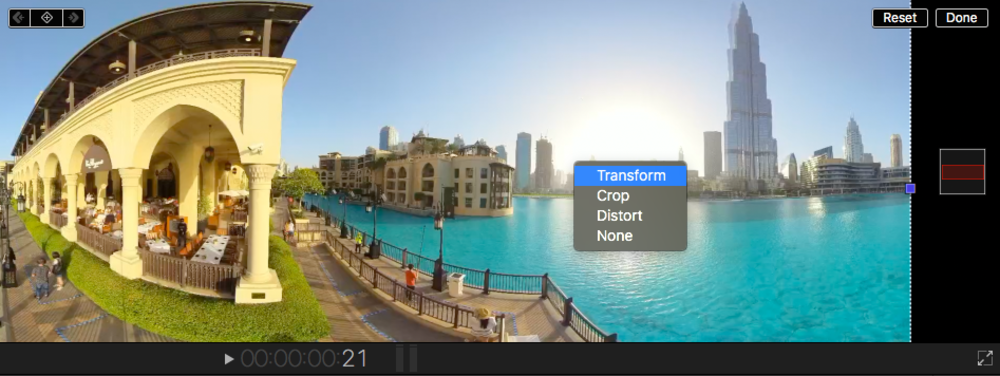
Press and drag the mouse to center the characters, and can add key frames, so that the screen can freely change the angle of view according to the event.
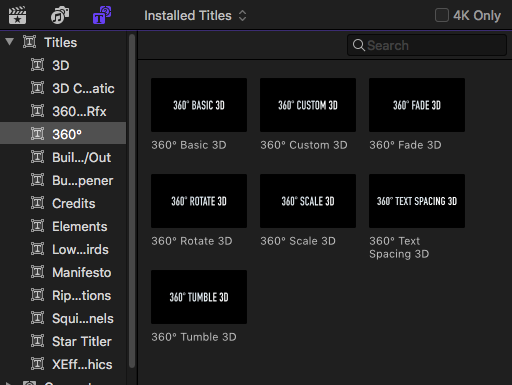
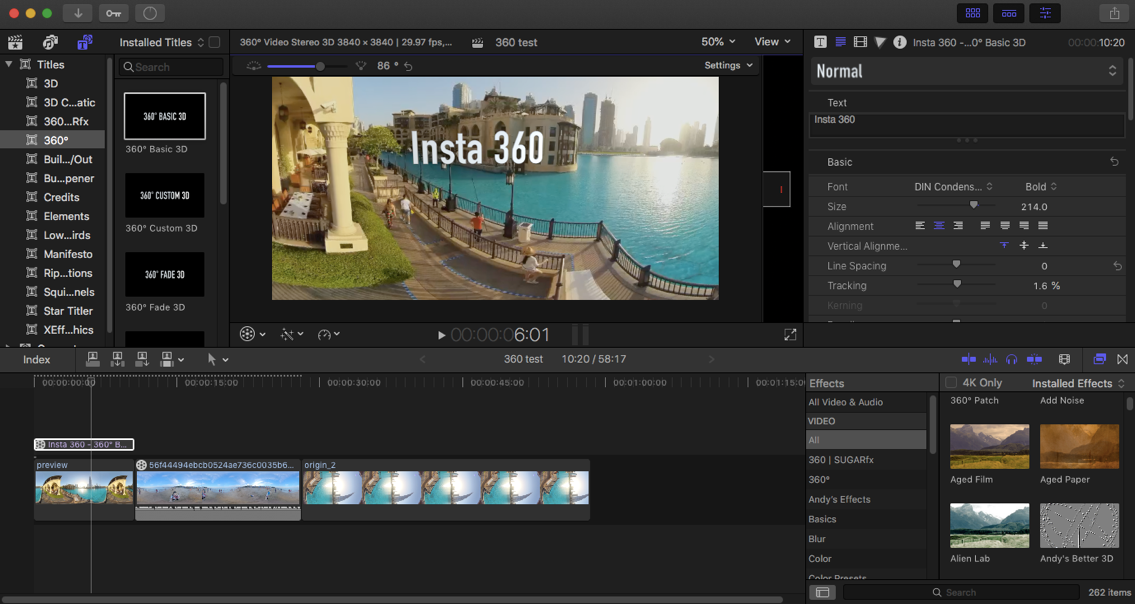
In the caption tool area, FCPX has built in 7 kinds of 360 caption presets, which can adapt to the spherical distortion of panoramic video.
A 360 basic 3D caption is added to the position of the starting segment, MY360 WEDDING. You can modify the font size in the caption property, and so on.
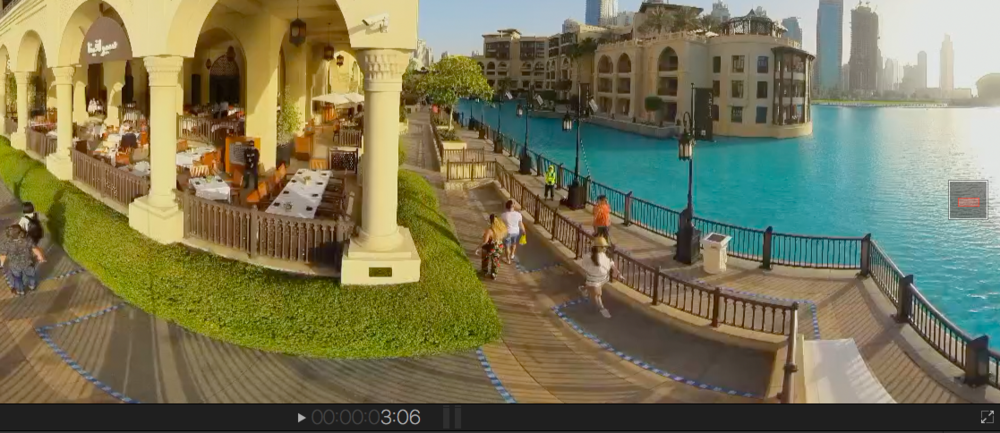
Open the display of 360 Viewer, you can press and drag in video window in the left to preview from any angle.
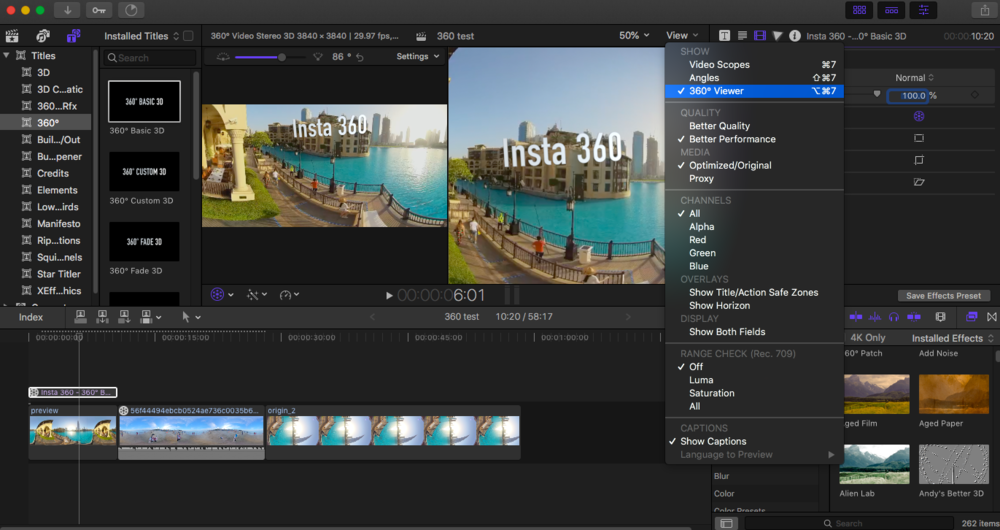
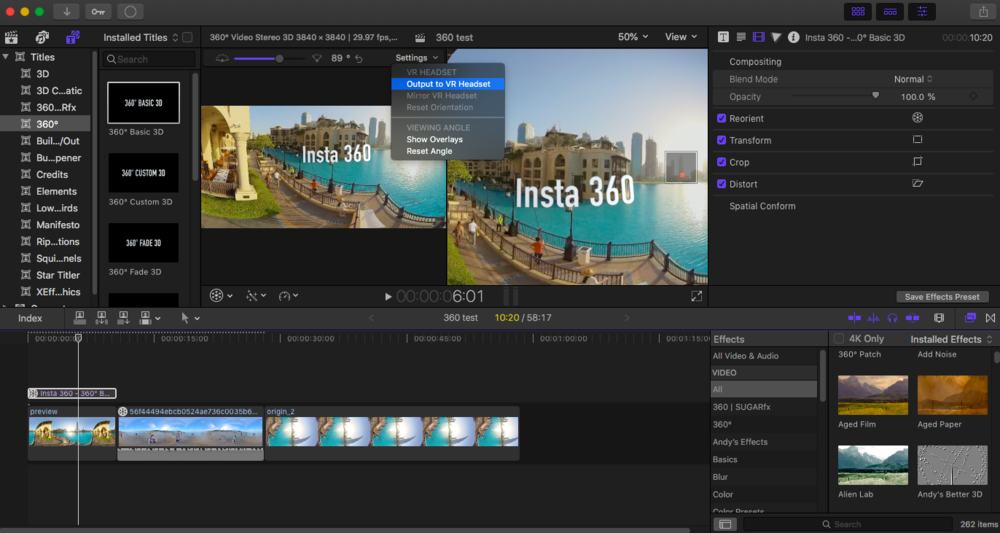
In the settings you can turn on the output to the VR header display, such as HTC VIVE, for a more vivid real-time view.
Put any graphic, still image, or video in a 360-degree project, add a flat material, such as an logo signature, to the timeline, and you can see that the 360 transform is turned on automatically. Resize and reposition to perfectly fit the 360 °scene.
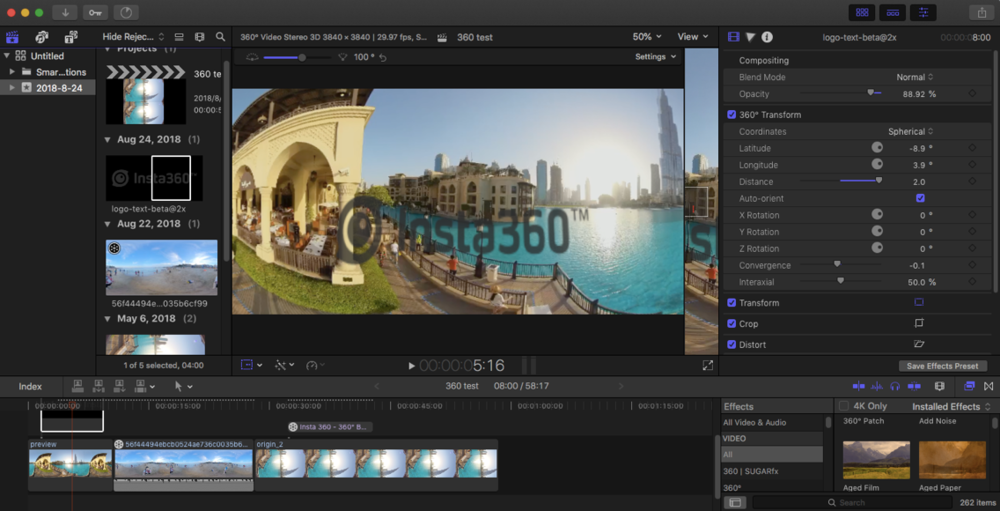
In addition, in non-360 projects, you can also add 360 panoramic material, activate the direction, and you can set the X, Y, Z axis and view size in direction window in the right to record the screen, turning the panorama into 2D images.
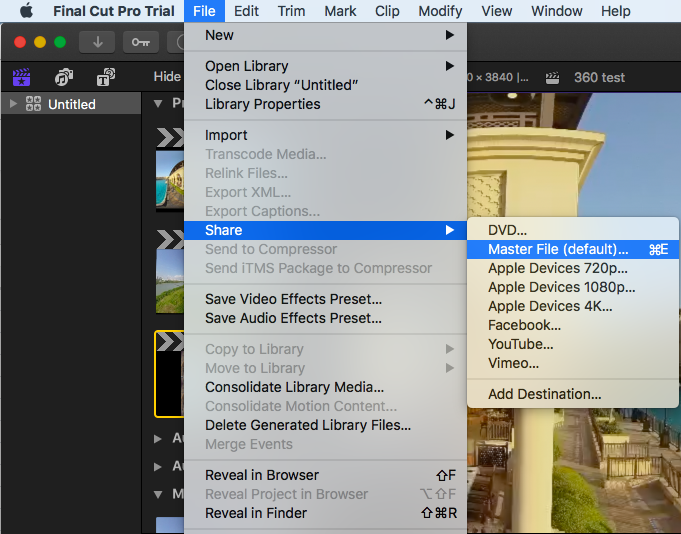
Finally export.