Online Chat
Office Hours: 24/7
Start Chat

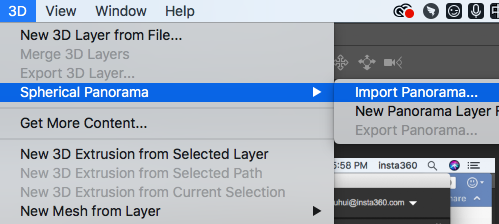
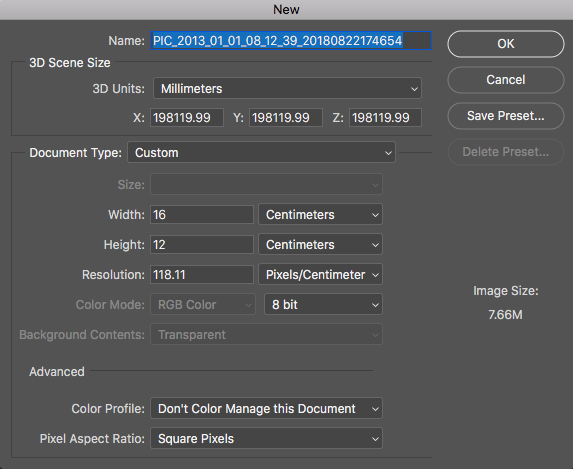
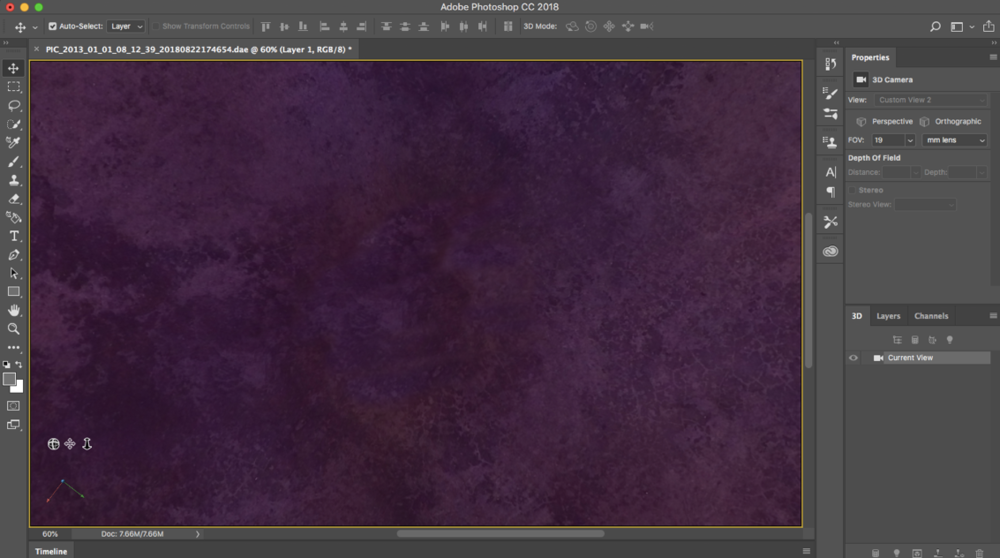
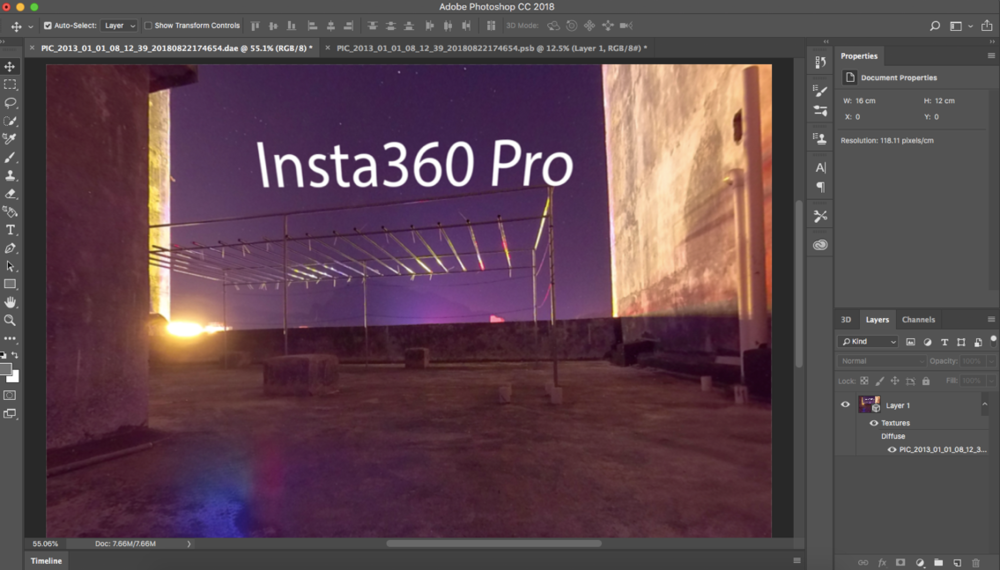
The latest version of Photoshop cc 2018 has supported panoramic editing. Here is a brief introduction to the basic workflows. Open Photoshop, select Spherical Panorama from top menu bar, import panorama. Confirm height and width pixels to be 7680 * 3840.
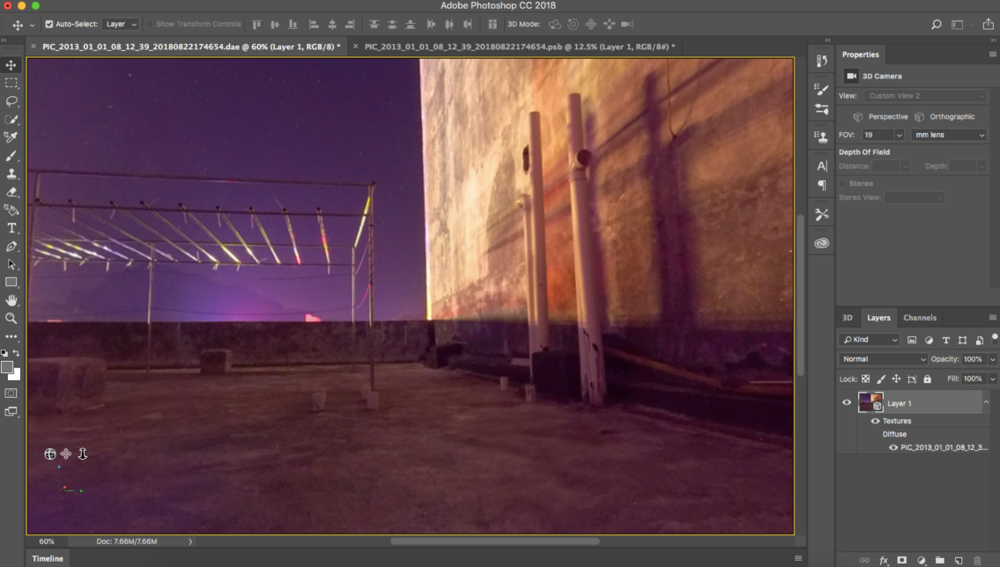
You can drag mouse to view from different angles in 3D interface.
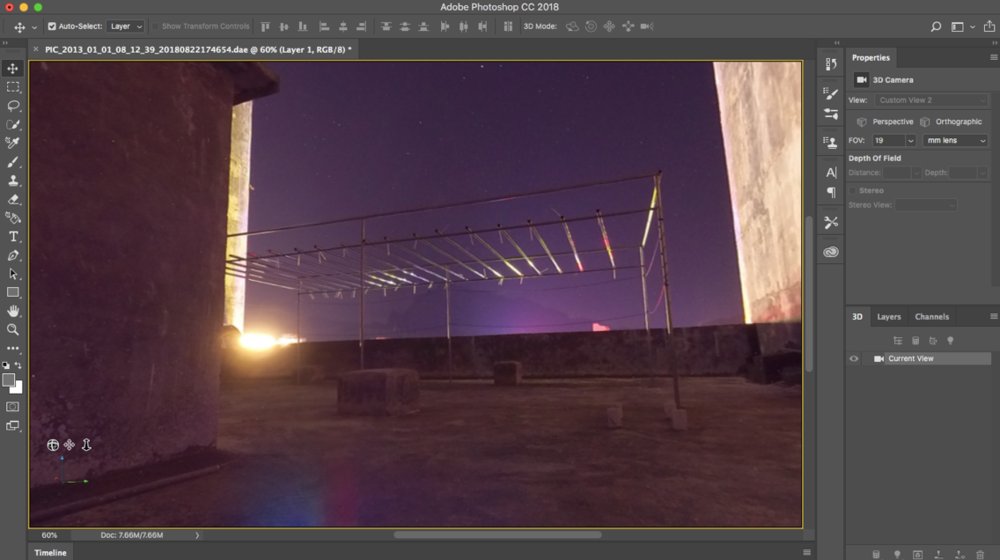
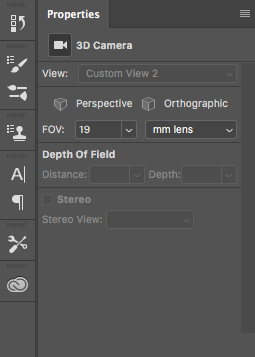
The angle value can be modified in the camera property of 3D and change field angle size. 8 millimeters is the view angle of panoramic view on Facebook by default. So we can easily modify picture details at a specific point of view.
Adjust view to bottom, use imitation seal, patch, stain wipe tools, to remove tripod at the bottom.
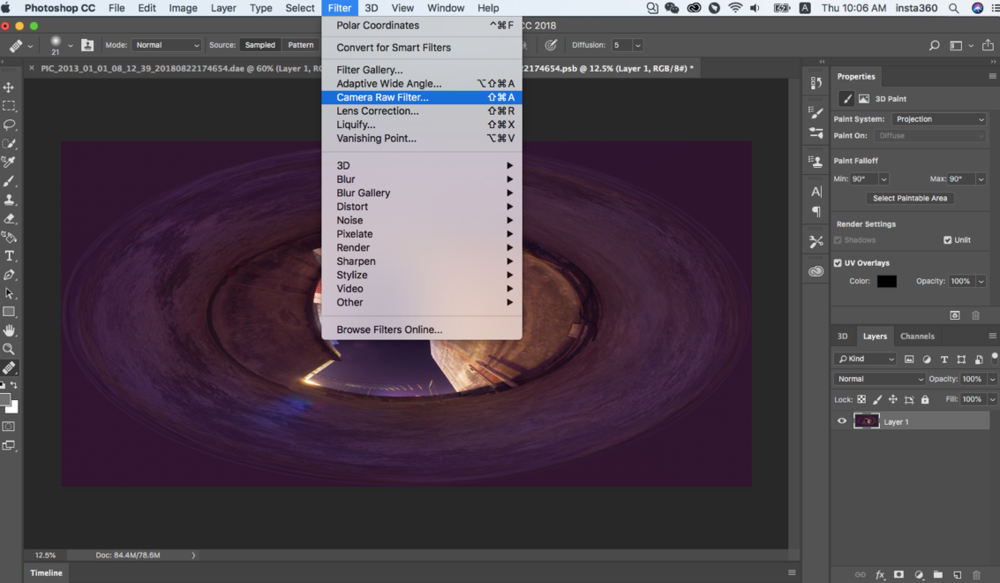
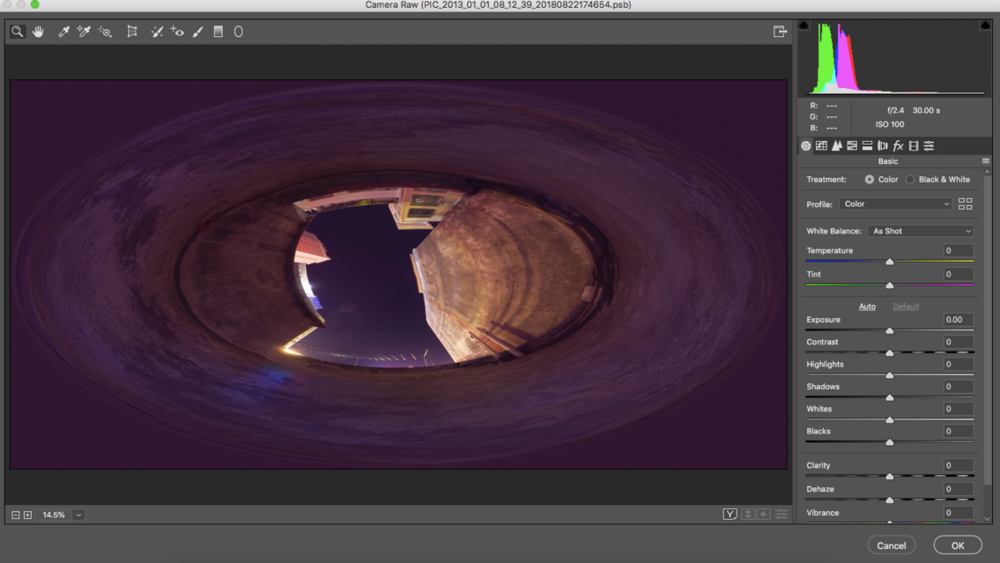
Because filters can only apply to visible parts, if you want to modify the overall color, you can use "adjust" in the camera workspace, to directly modify picture’s overall exposure, color etc.

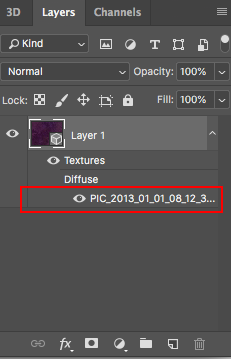
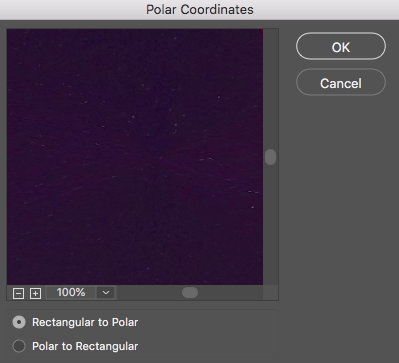
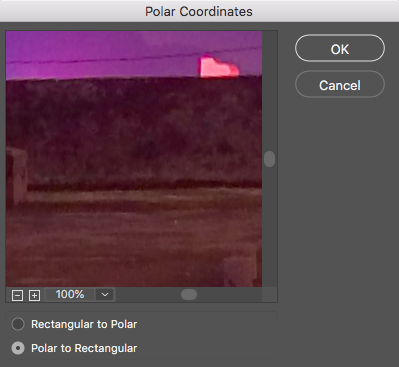
Another way is to double click on filename, to open smart layer, convert polar coordinates into spherical shape, and then use Camera RAW to mix color to avoid producing transition seams.

Open camera raw filter for color grading
Once again, we apply polar coordinate effect to return to the rectangular of 2:1.
Back to the workspace of spherical panoramic images, we see that images have shown perfect color correction results.
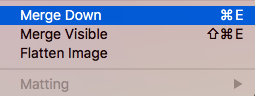
You can also automatically adapt text into 360 sphere automatically by adding text into image, adding new text layer, applying "merge down".
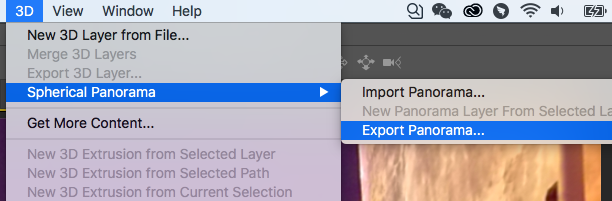
When exporting, using "export panorama" from the 3D menu to correctly save into panoramic image, which has been written into panoramic Metadata and can be uploaded directly to those platforms supporting panorama.
.svg)

