Starlapse
Preparation
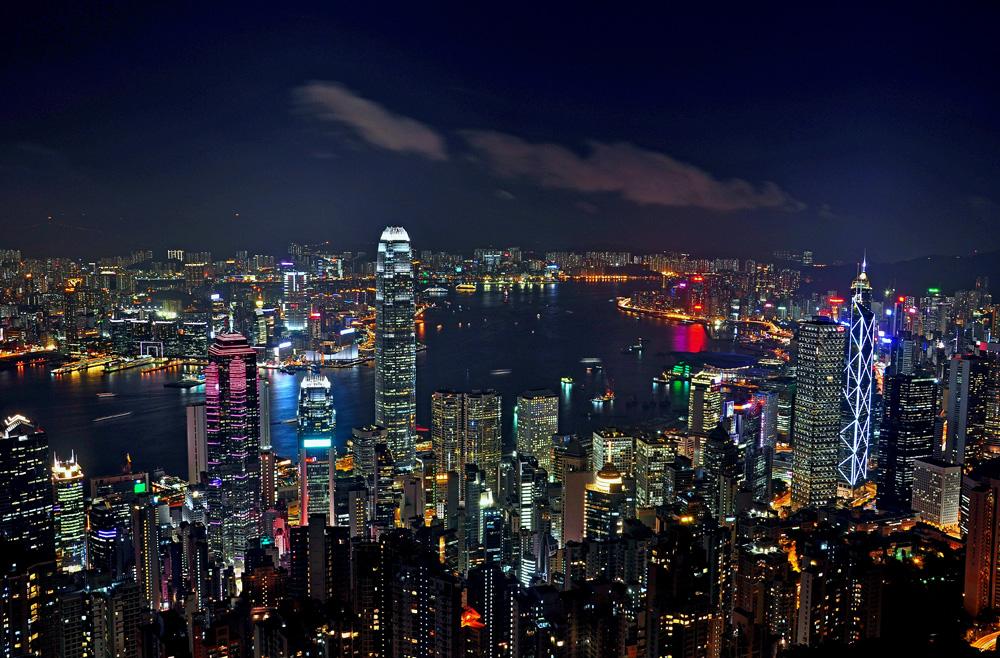
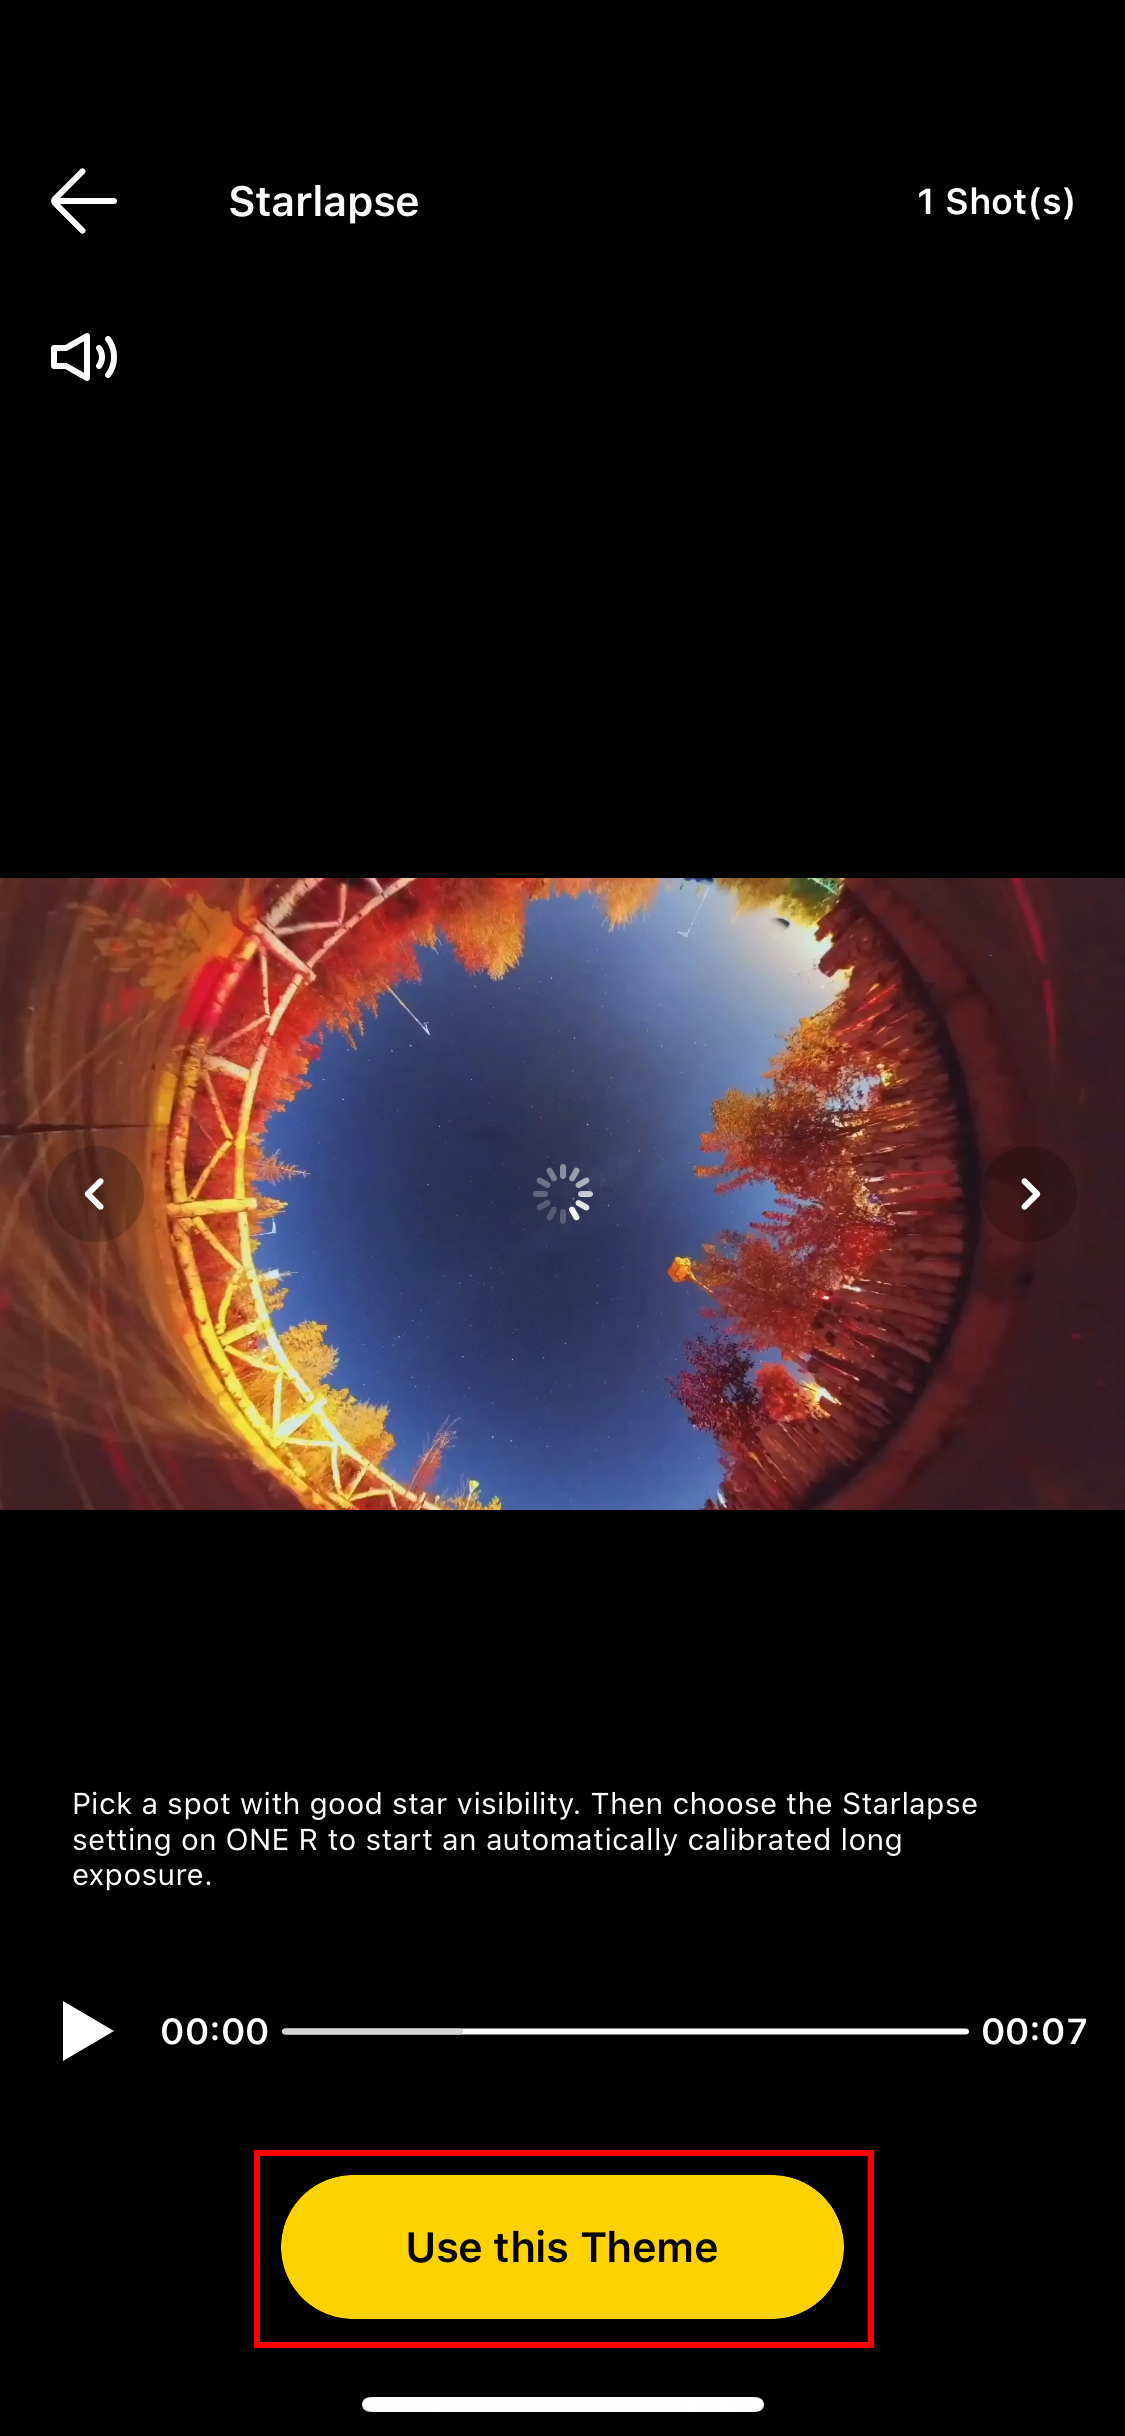
- Pick a spot with good star visibility and no light pollution (as shown below). If there is a lot of light pollution, ONE R will not be able to clearly photograph the stars.
- Because the recommended shooting time is relatively long (4-6 hours), it’s recommended to connect ONE R to a power bank in advance to avoid running out of power.
- If you are shooting at a high altitude (such as on top of a building or a mountain), please secure the camera first to keep it from falling down in the wind.
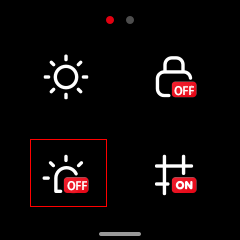
- Turn off ONE R’s indicator light before shooting or it will affect the video effect. Press the power button to turn on ONE R, then swipe down on the screen to access the shortcut menu and tap the icon to turn off the indicator.
Shooting
- Press the power button to power on ONE R.
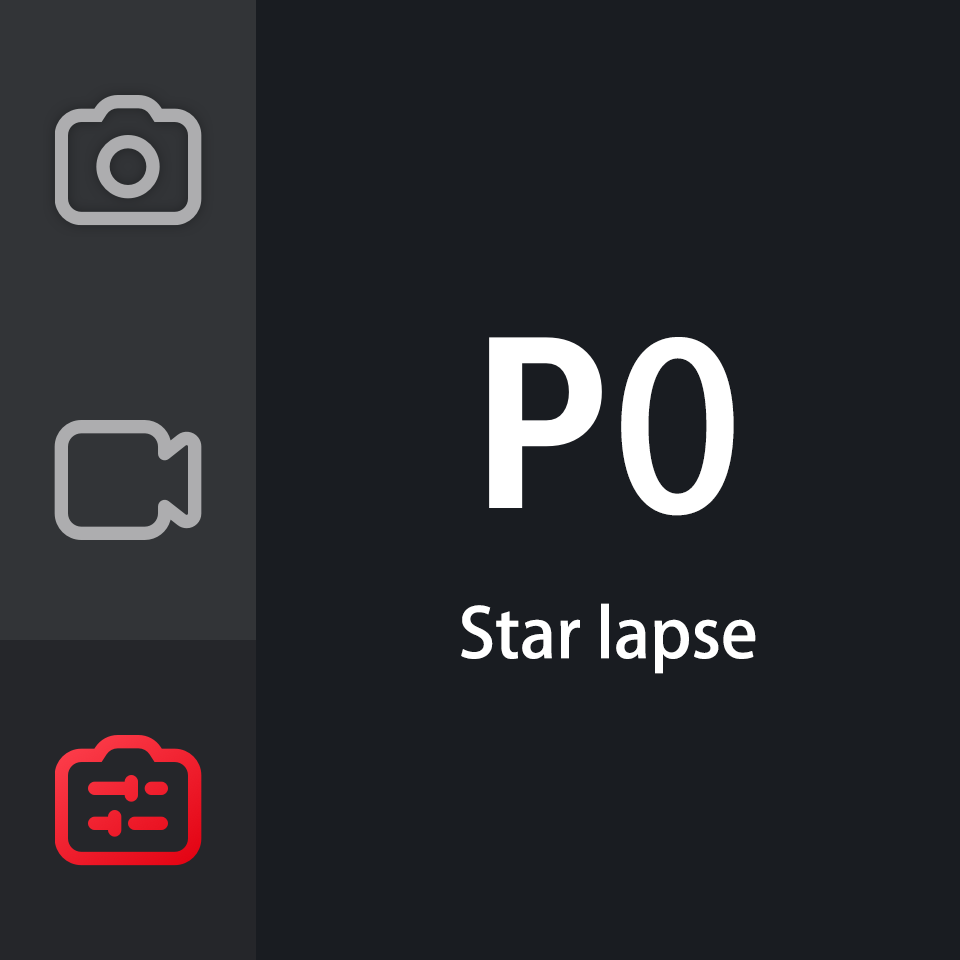
- Tap the lower left corner of the touch screen to switch to the preset modes, then choose “P0 Starlapse”.
- Secure your camera and press the shutter button to start shooting. It’s recommended to shoot for at least 4-6 hours. If you’re using a wide angle lens (e.g. 4K Mod or 1-Inch Mod), point the lens directly at the stars. Avoid pointing any other direct light at the lens while recording.
- Press the shutter buttonb again to stop recording after 4-6 hours.
Editing
- Connect your camera to the Insta360 App.(How do I connect it?);
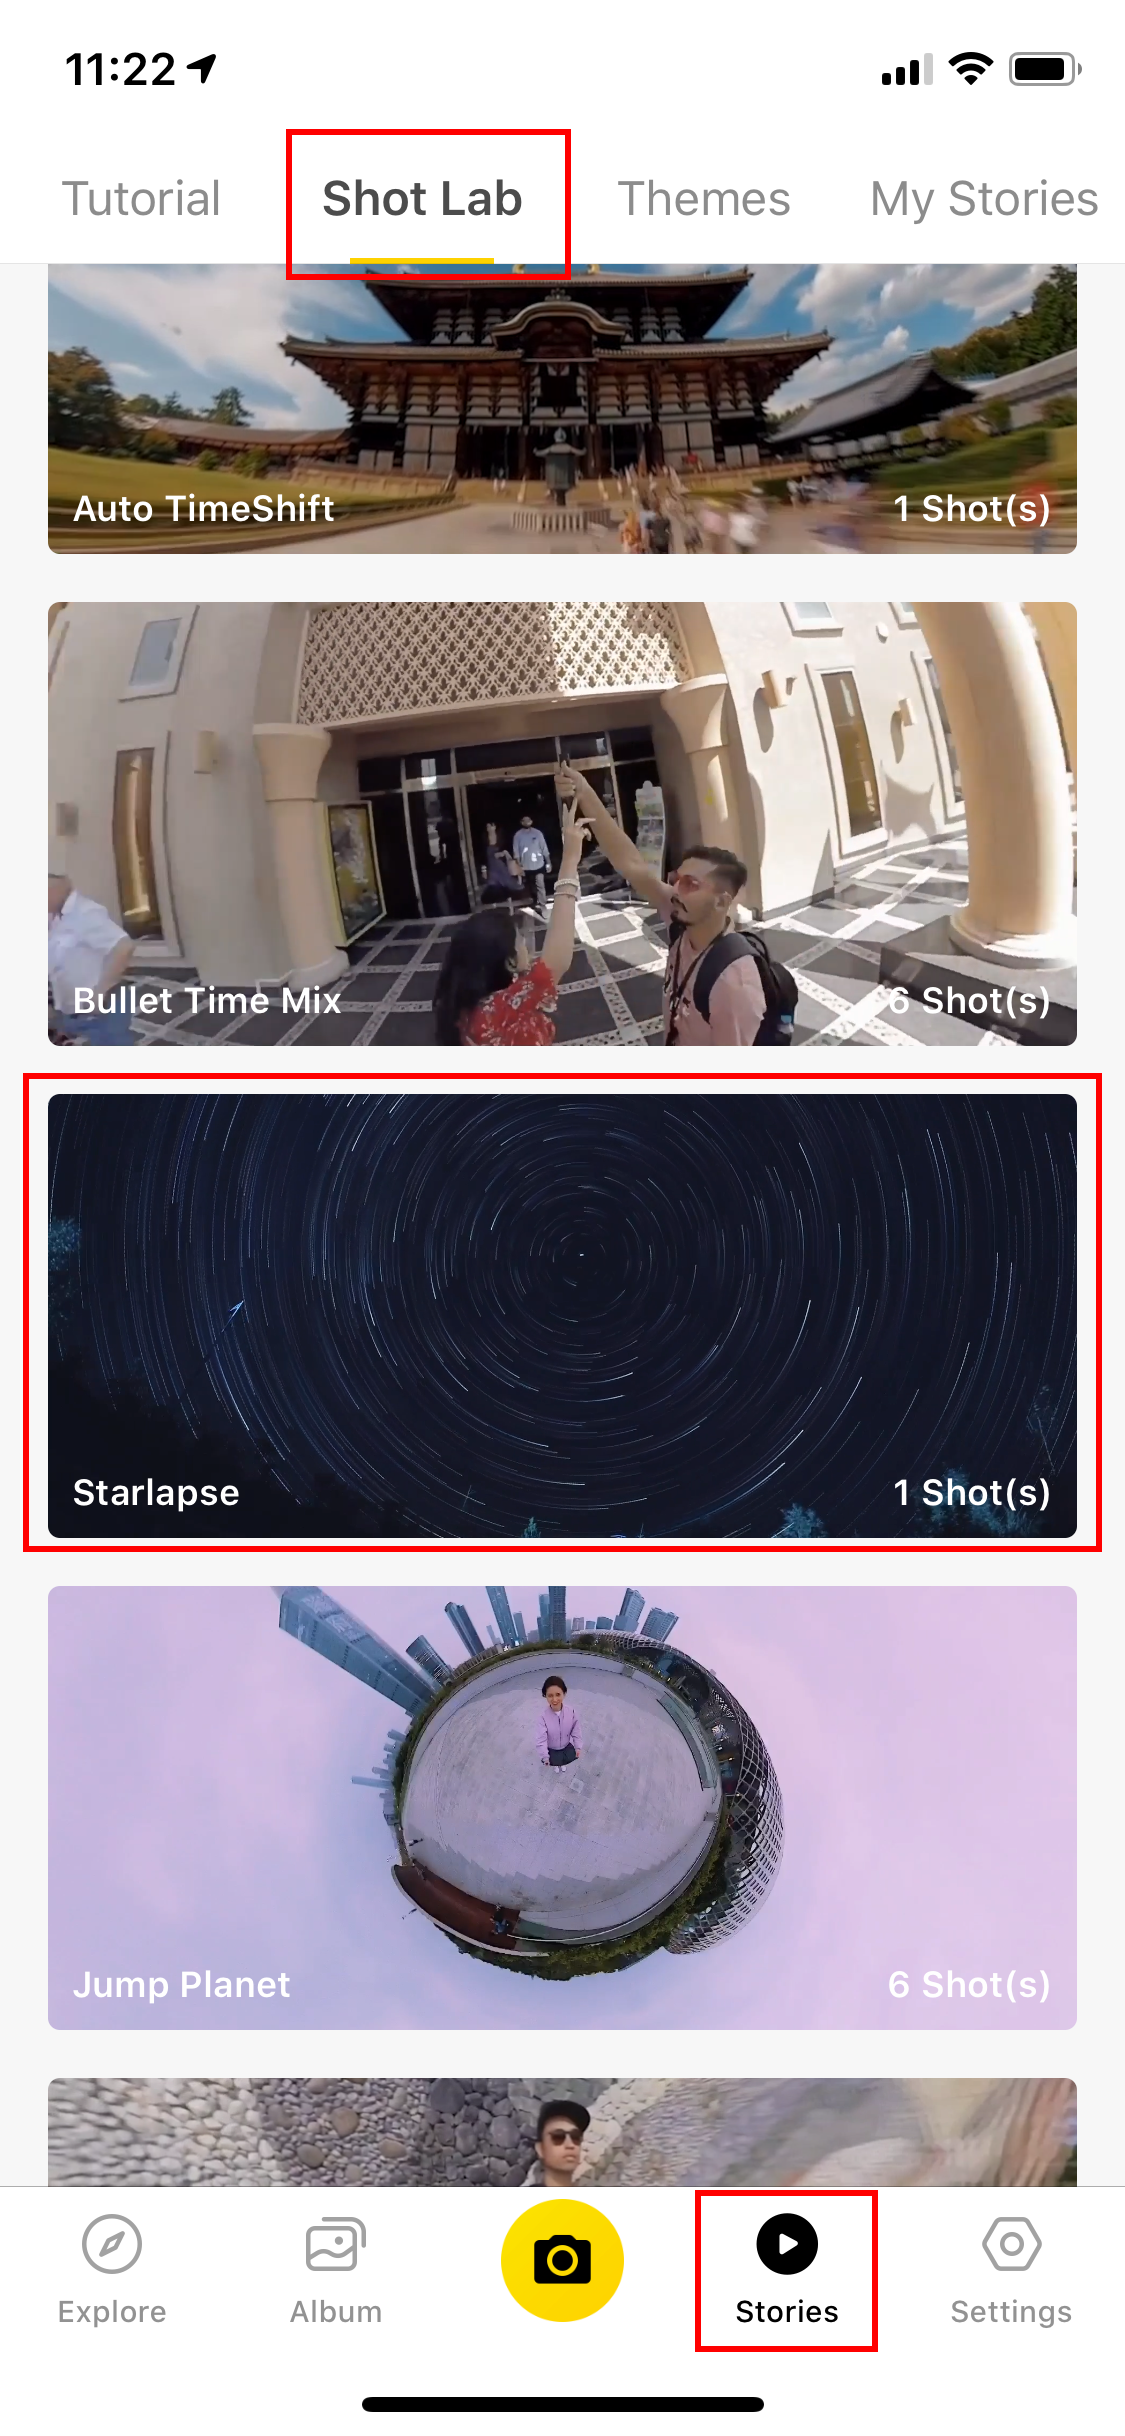
- Enter [Stories] -> [Shot Lab], then choose the Starlapse template.
- Tap “Use This Theme” and select your clips of the stars. Sit back and watch as the AI uses your clips to create a brillant starlapse video!
- If you filmed in 360, you can also select the viewing angle in the editing stage.
Please click here to contact us for further support.

