Online Chat
Office Hours: 24/7
Start Chat

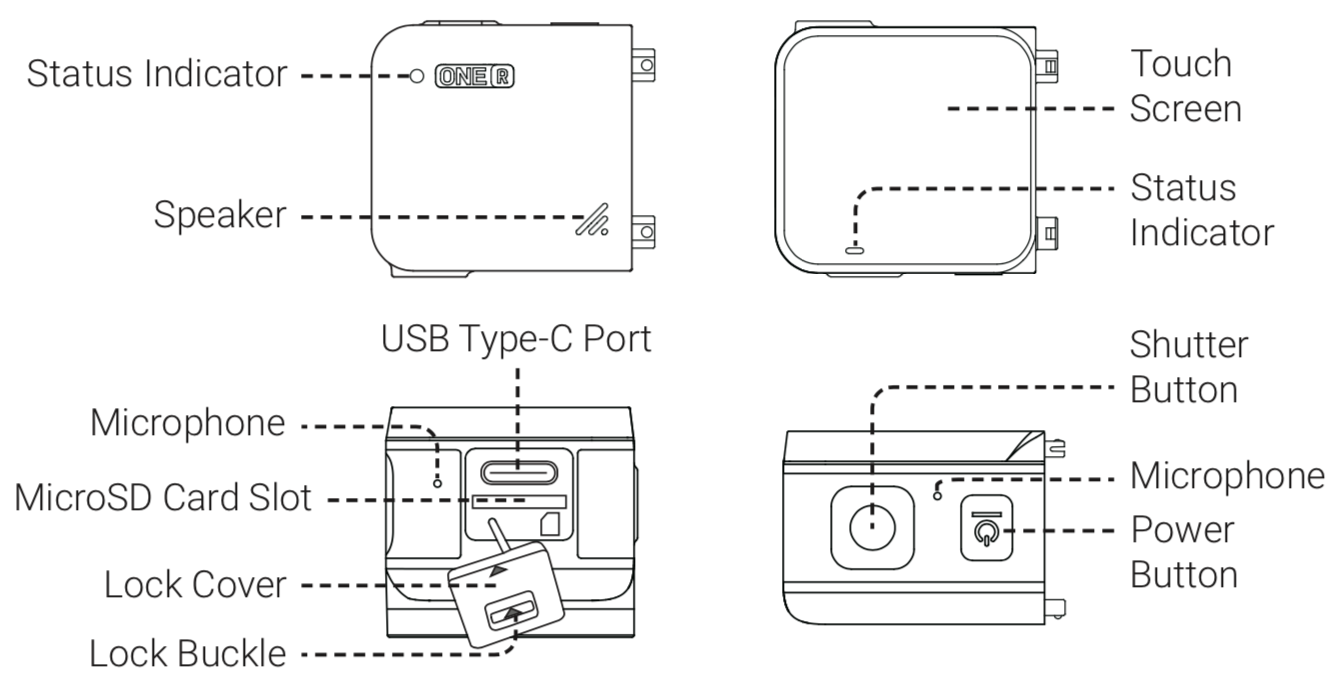
Names of Parts
*The number of parts vary in different ONE R Editions. Please refer to the packing list of your purchased Edition.
Core
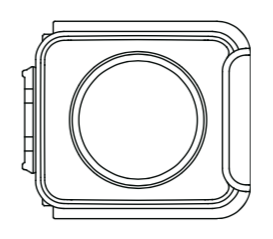
4K Wide Angle Mod
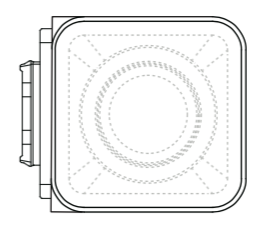
Dual-Lens 360 Mod
Battery Base

Camera Assembly
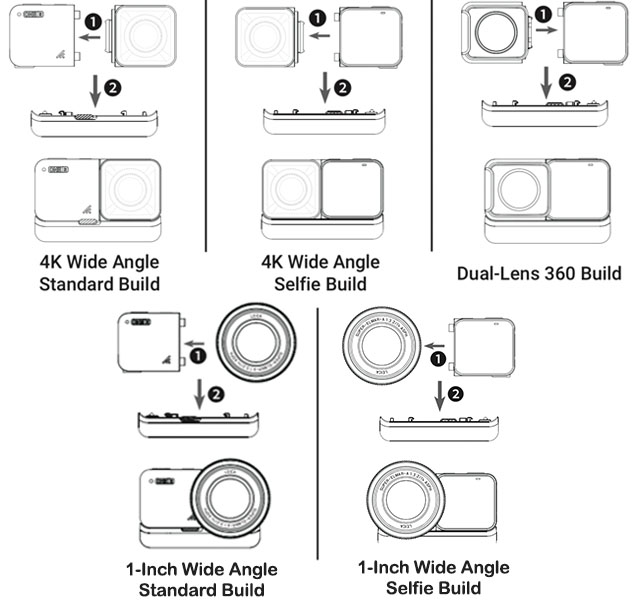
Assembly Steps:
1) Align the holes on the side of the lens mod to the points on the Core, and press the two together until they firmly connect.
2) Align the already assembled Core and lens mods to the connecting points of the Battery Base. Then press the two parts together until they firmly connect.
*Pro Tip:
1) Avoid disassembling or storing a dissassembled ONE R in high humidity environments, as camera could be damaged.
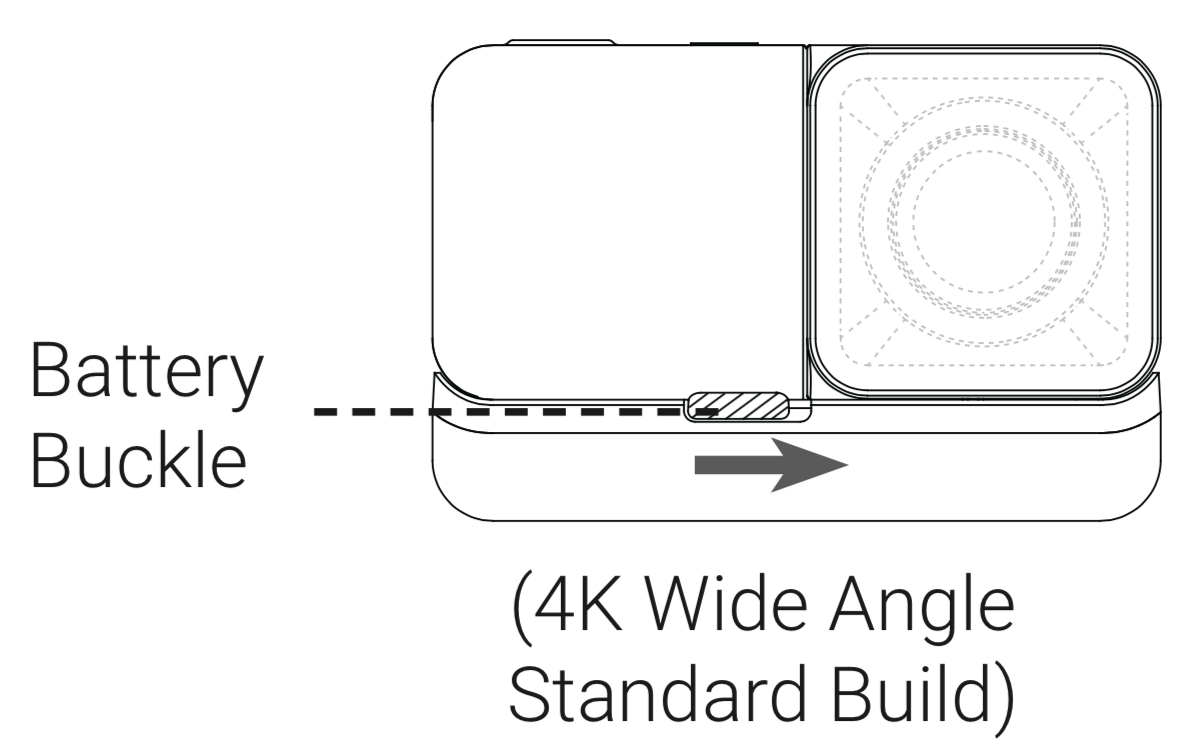
2) To remove the Battery Base, push the battery buckle to the right, then pull the Battery Base off.
Before You Start
Note: The following instructions use the 4K Wide Angle Mod as an example.
1)Ensure the battery has been assembled properly. Please connect the included charge cable to ONE R in case of low or depleted battery.
Note: Please use a 5V/2A power adapter to charge your ONE R. You can also use the official Insta360 ONE R Fast Charge Hub (sold separately).
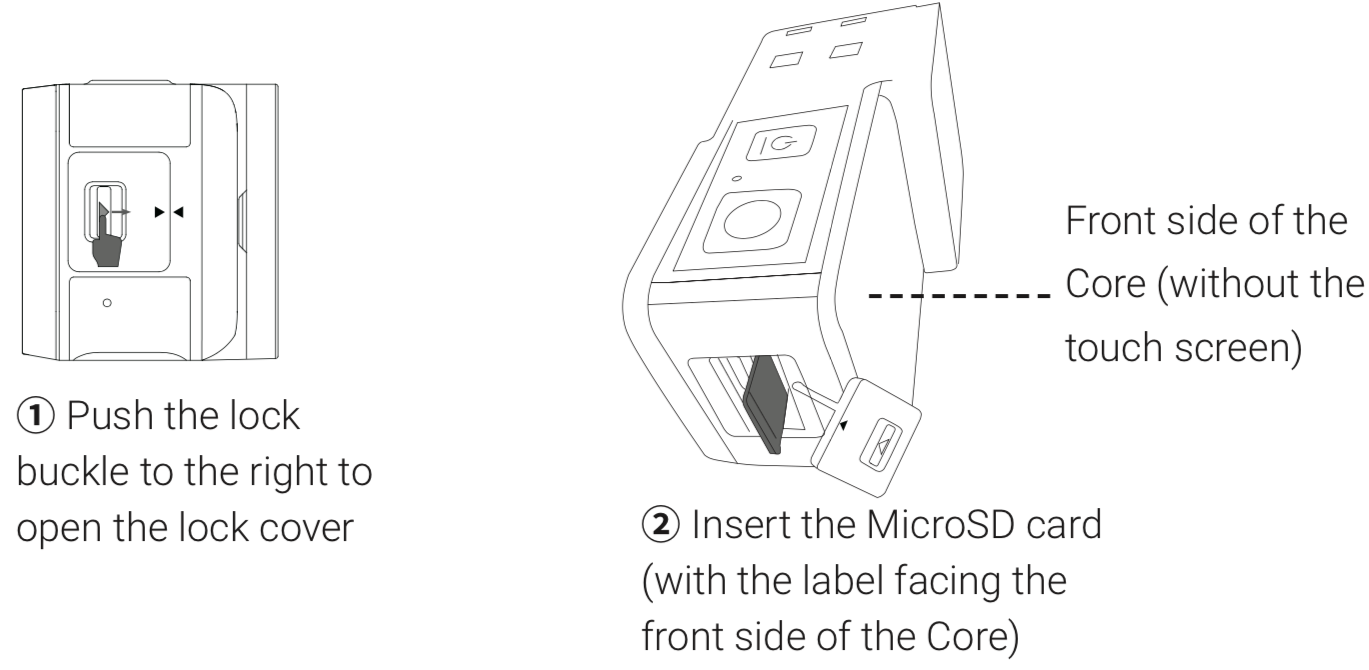
2)Before use, open the lock cover and insert a MicroSD card.
Note:
1)Please use exFAT Format MicroSD cards of speed classes UHS-I and V30 to ensure normal recording. The maximum supported storage space is 1TB. For specific info on supported MicroSD card models, see here.
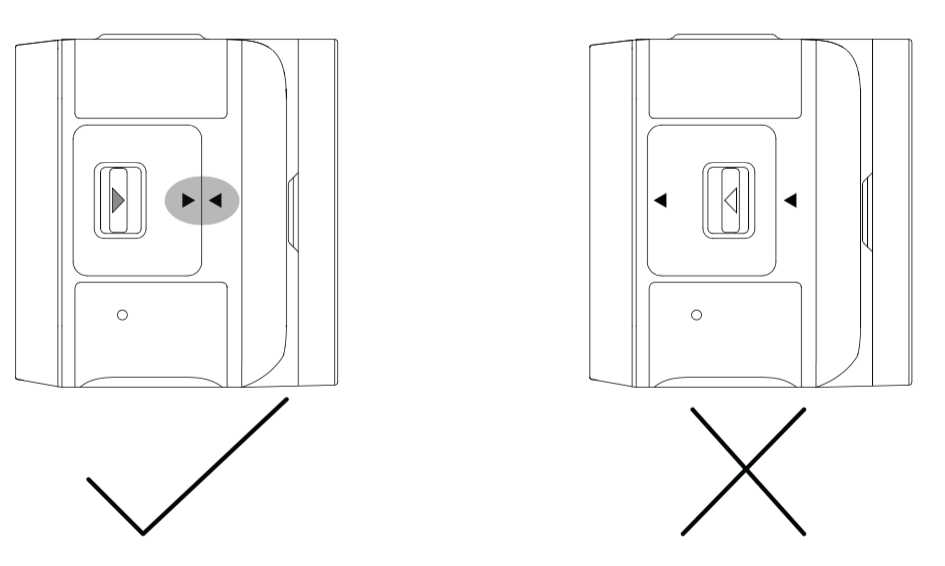
2)Be sure to close the lock cover completely to ensure the waterproofing is not affected. Align the triangle indication marks as shown to the right. The yellow indication mark near the lock buckle should be covered.
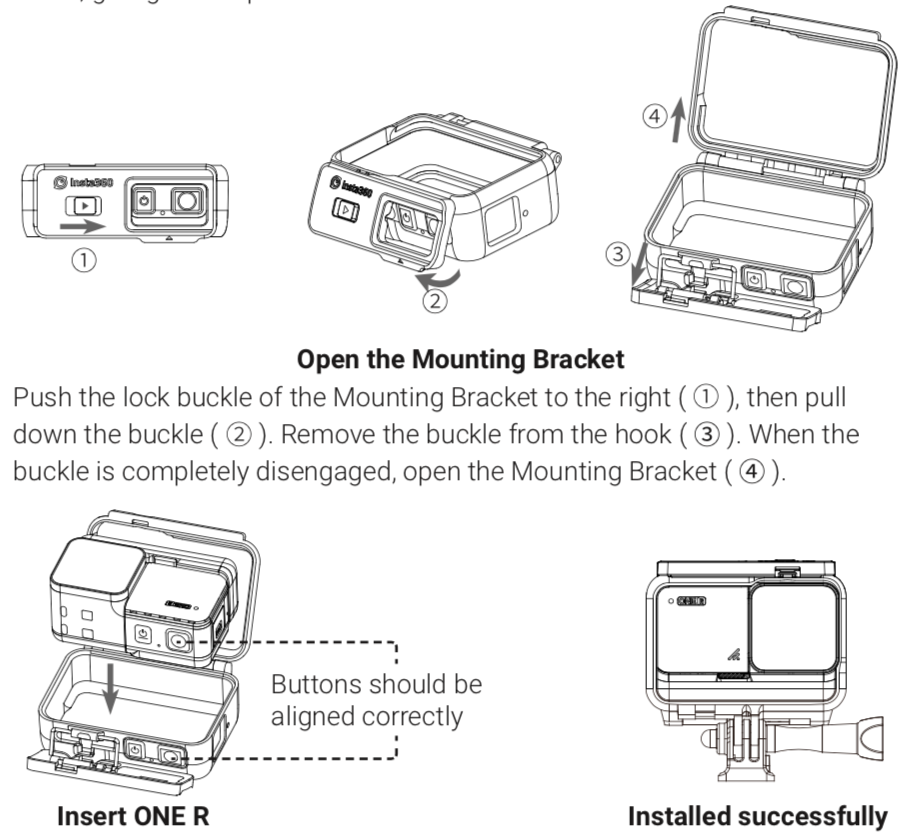
3)Install the Mounting Bracket before using the ONE R to capture dynamic action scenes. It will reinforce connections between the assembled camera mods, giving added protection.
Note:
For shooting with the Invisible Selfie Stick, attach the 1/4'' Invisible Selfie Stick Adapter to the Mounting Bracket.
Know Your Insta360 ONE R
Power on / off
When the camera is turned off, press the Power button to power it on.
In standby mode, press the Power button to light off / on the touch screen.
In standby mode, long press the Power button for 2 seconds to power it off.
Using the Touch Screen
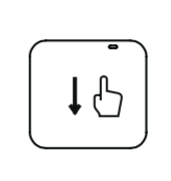
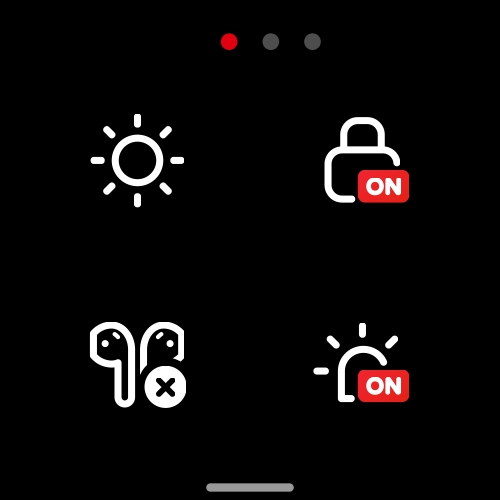
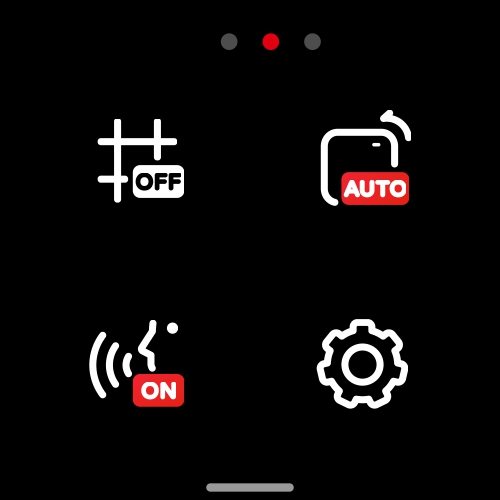
Swipe down
Open the Shortcut menu: Adjust screen brightness, touch screen ON / OFF, LED ON/OFF, Grid ON / OFF (Not availbale in Dual-360 Mod), Rotate Screen ON / OFF, voice control, and settings
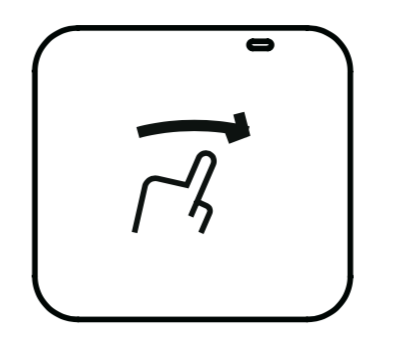
Swipe right
Access Media Gallery. The most recently captured content is shown by default. Tap the album icon in the upper left corner to enter the album and browse all.
*Note: ONE R does not support the preview of HDR photo, Burst photo, interval photo, Night photo and Timelapse video. Please check after connecting to the app.
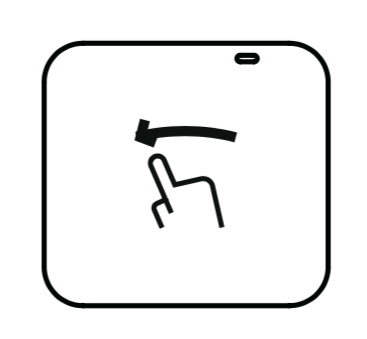
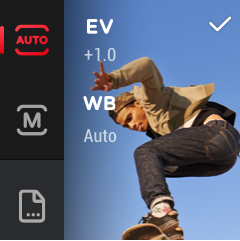
Swipe left
Adjust camera settings (WB, EV etc.)
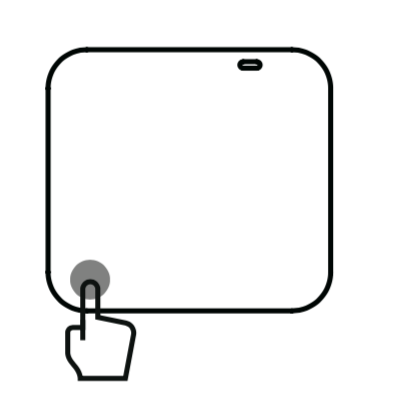
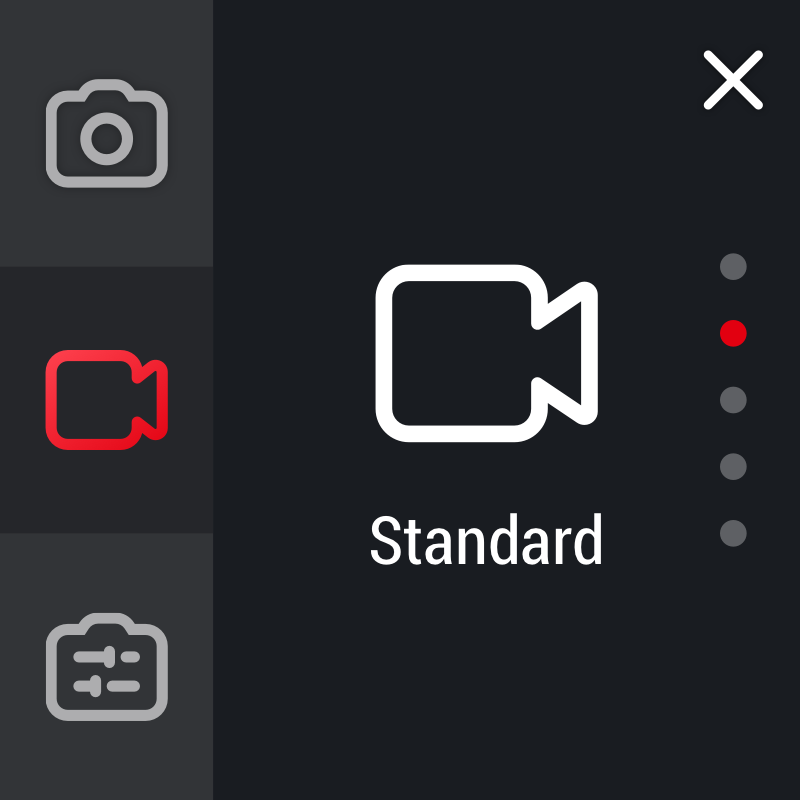
Tap the icon at the bottom left corner
Select capture mode.
Photo:Standard photo, HDR photo, Interval Photo, Burst photo, Night photo.
Video:The video modes of different lenses are different. The detailed information is as follows:
| ONE R 4K Wide Angle | ONE R Dual-Lens 360 | ONE R 1-Inch Wide Angle |
|---|---|---|
| Standard | Standard | Standard |
| HDR | HDR | Timelapse |
| Timelapse | Timelapse | Timeshift |
| Timeshift | Bullet Time |
Preset: Preset modes
Note: When using the 4K Wide Angle Mod, you’ll get a zoomed in perspective. When using the Dual-Lens 360 Mod, you’ll switch from one lens to the other (you can also simply swipe to preview any angle when shooting 360).
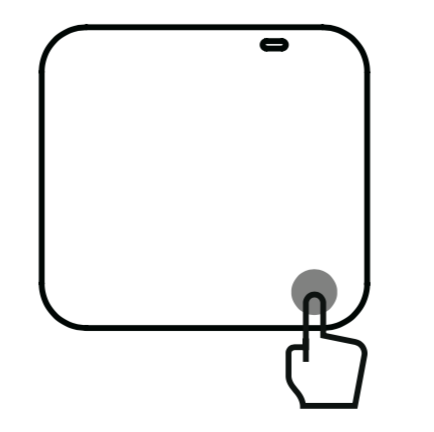
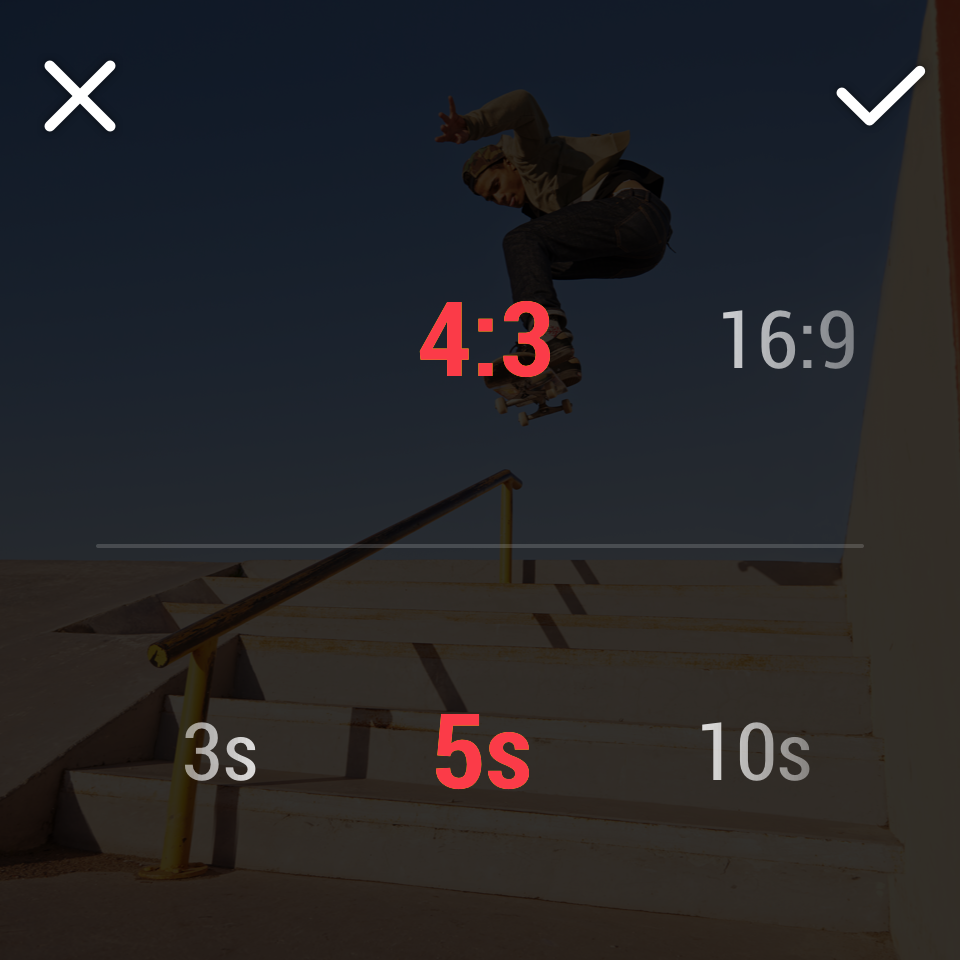
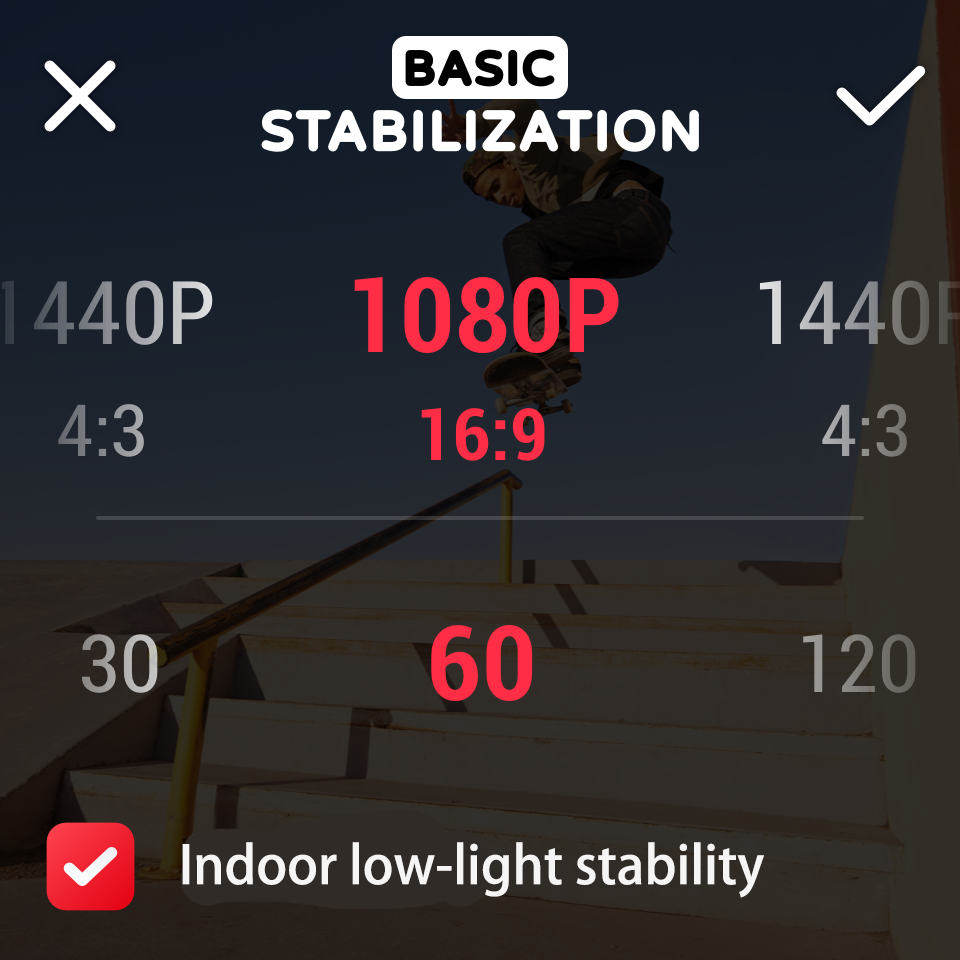
Tap the icon at the bottom right corner
Set resolution settings.
Start Shooting
After you've selected mode and settings, just hit the shutter button once to start a recording, and then again to stop.
Please click here to contact us for further support.
.svg)

